Beer is a favorite refreshment for a lot of people since the ancient times. Basic beer brewing at home and micro breweries are in fashion and everybody is talking about their favorite artisan beer. Beside being a great refreshment and a wonderful drink to discuss important ideas while enjoying it, it is a great way to preserve calories for longer time periods. Granted, it takes up space for storage, but I think anyone will find that extra space in times of need. Especially for such a great nourishment.
With current interest in artisan beer it is really simple to brew your own beer. There are numerous internet shops where you can order a complete kit with almost everything that you need. Additionally you will need a pre-hopped malt extract (depending which kind of beer you want to make) and empty beer bottles. So simple.
The basic beer brewing equipment
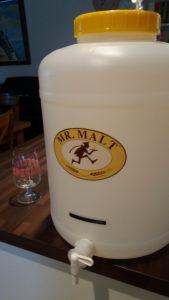
In theory you could improvise with things you have at hand, but I would recommend a kit, since it is fairly cheap, is exactly suitable for the purpose and everything fits together seamlessly. Essentially what you need is a container in which you will brew your beer, a system to wash and fill the bottles, stoppers and apparatus to close the bottles (if you decide to use such bottles), hydrometer and a disinfectant to clean all the equipment. That is all in terms of basic beer brewing equipment – its use is described below in the process description.
Next is the pre-hopped malt extract (or beer kit or brew can or whatever the producer calls it). Basically it is a can where malt extract and hops are already mixed to give you the beer you desire. This is a no brainer – just get an extract that you like.
It is like ordering a beer in the bar with the difference that it arrives a little late – about a month late.
The malts came in all flavours and styles and it is really easy to pick the ones you like. There are also numerous reviews and tips to be found for the favorite malts.
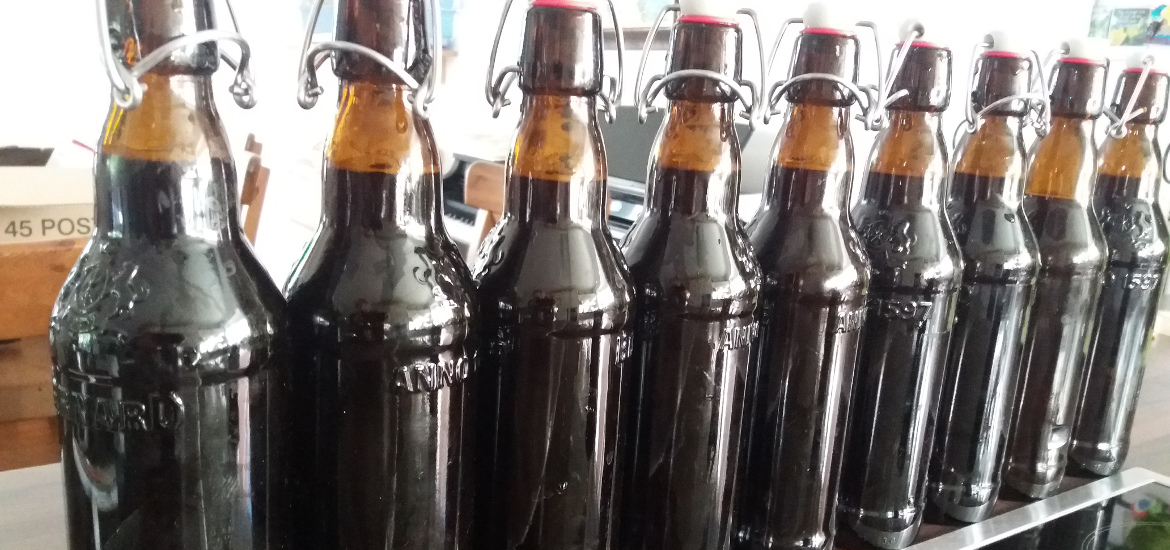
Finally the bottles. The only important thing is how they are sealed – the seal should be airtight – and this is all, exact type of sealing is not so important. Generally there are two types of sealing for home use: Flip-top (swing-type closure – see picture), which is really easy to open or close and looks fancy but is hard to find an the sealing deteriorates with time. More common, but less fancy looking, is the crown cap. You must buy new caps each time you close the bottle and you need an apparatus to do it, but it is fairly cheap and the apparatus is easy to handle. The third way are screw caps but are far from an ideal option, mostly because they do not seal as good as the other two.
Basicall these are all the things you will need. All together is fairly cheap, it will cost you around 50-100 bottles of beer (depending what kind you drink) and in return you will get around 40 bottles of beer, with complete brewing equipment! A deal of a lifetime! I excluded the cost of bottles from the calculation, since if you are a beer lower, you will quickly accumulate 40 empty bottles, which you can reuse.
The basic brewing principle
The brewing process is relatively simple. First malt extract, sugar, water and yeast are mixed.
The mix is allowed to ferment for a couple of days until the fermentation stops – this is the basic beer, only the bubbles are missing. Then a small amount of sugar is added to the beer and the beer is filled in the bottles. The added sugar ferments in couple of days, adding the bubbles (carbonating the beer). Now the beer can be cooled and enjoyed – be aware that this kind of beer always has sediment on the bottom, due to the fact that yeast settled to the ground after adding the bubbles to the beer.
As always, the devil is in the details. All the steps have something that you have to keep in mind in order to get the best possible result. Below you will find the basic beer brewing steps described in more detail with some explanation of the background and the most critical things.
-
First thing is cleaning
All the equipment that comes in contact with beer has to be clean, the most important one even disinfected. The fermentor and the bottles have the largest surfaces and come in contact with the beer for a long time, therefore they need to be disinfected before every use.
The disinfectant sold in the kit does a fair job – it kills the bacteria with oxygen which is effective and short lasting (important since it could potentially later kill also the brewing yeast) and what remains is only a bit of salt. Next it is a good idea that everything, also the water used, is shortly boiled to kill possible bacteria. In case you are using tap water this also guarantees that no chlorine – which is sometimes used to ensure water is bacteria free – is removed and cannot influence (kill) the brewing yeast.
Why so much cleaning? Absence of other bacteria and yeasts ensures that the brewing yeast you add has an enormous advantage and it will be practically the only microorganism that converts sugars to alcohol.
-
The brewing can start when everything is clean and the water has been boiled – and cooled down again
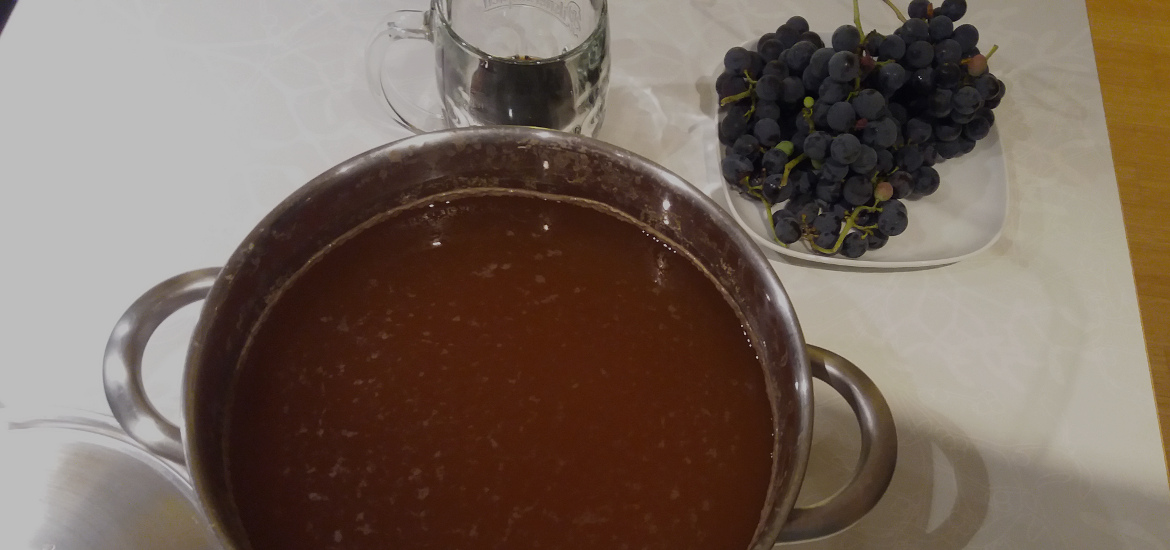
So be sure to do this one day before you start the brewing. It is also a good idea to cover the vessel with the water when it is cooling down to ensure it is really bacteria free. Transfer the pre-hopped malt extract from the can to a large (around 6 l) vessel. You can heat up the can so that the extract flows easily. Wash the can with hot water and add the water into the vessel. Check the instructions if more sugar is need for your beer type. Generally you add additional kilogram of sugar/dextrose/ to one can of pre-hopped malt extract. If you forget the sugar, the error is not drastic. Just alcohol content will be lower and the taste will be a little thinner. So, do not forget and add the sugar into the vessel and fill with water to about 5 liters. If is a good idea to heat the mixture in the vessel to boiling point and cool it down again. Just to make sure no microorganisms are present in your wort.
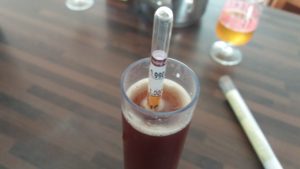
Transfer the wort to the fermentor and add the boiled water (and cooled) to the required volume. In small amount of boiled (and cooled) water disperse the brewing yeast. Wait for 20-30 minutes to completely hydrate the yeast. In the meantime check the temperature of the worth in the fermentor. It should be in the required range for you yeast (usually the range is from 18 to 26 °C for home brewed beers). When the yeast is hydrated add it to the fermentor and the fermentation can start – just seat back and relax. It is also a good idea to measure the density of you worth, to help monitor fermentation and calculate alcohol content.
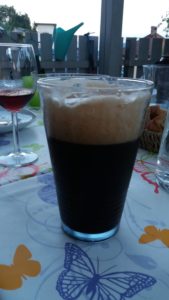
The basic beer brewing final result: home made beer is served! Cheers! -
The fermentation should take place in the temperature range most suitable for your beer
As said above, this is from 18 to 26 °C for home brewed beers. I do not believe you will start with pilsners on your first attempt. The fermentation takes about 4 to 8 days to complete. The easiest way to determine the end is to observe how much gas leaves the fermentor. This should practically be zero at the end of fermentation. To further confirm the end of fermentation, density of the beer can be measured. It should be reduced compared to the value of the starting wort prepared under point 2, that is around 1.01 g/mL. The starting and end density can also be used to determine the alcohol content in the beer – just use this calculator.
-
Once the fermentation has ended, the beer needs to be “primed”
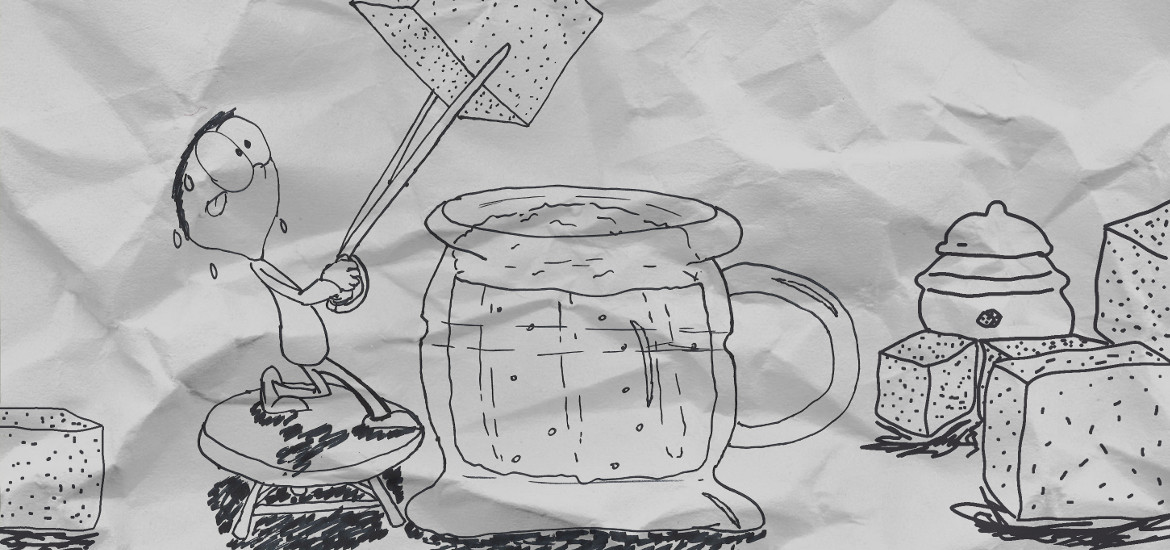
That means that a little sugar is added to allow for further fermentation in the bottles, which results in carbonation of the beer (bubbles are added). The amount of sugar/dextrose depends on how much bubbles you want – again, an easy way is to use a calculator and observe the recommended values for certain beer styles (also found on the calculator page). The required amount of sugar is dissolved in small amount of boiled (and cooled) water and added to the fermentor. Some light mixing might speed up the distribution (be very careful not to lift up the sedimented yeast!), otherwise just wait for 30-60 minutes for sugar to distribute evenly in the beer. If you add too much sugar, funy things can happen – as shown here.
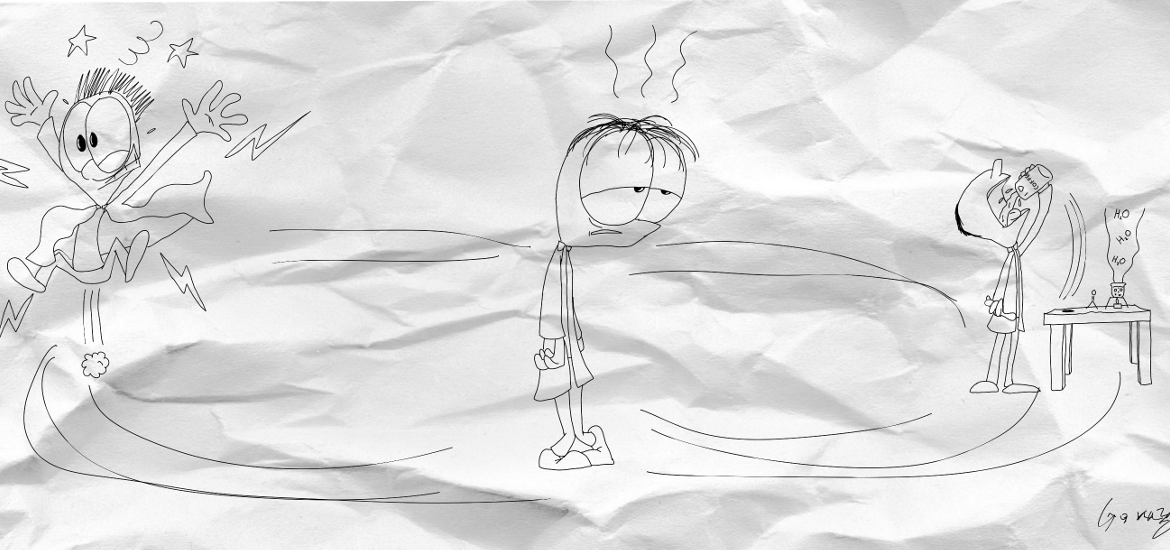
Fill the beer in clean and disinfected bottles. Again, it is easier to use a special attachment to the fermentor which allows to pour the beer from the bottom of up and thus reduce the foaming of the beer. Place the caps on the bottles, turn them around and stand the straight again. Allow the gas which has formed to leave the bottle and then fix (close) the cap. The gas is carbon dioxide from you beer and it has hopefully pushed out the air (oxygen) from the bottle to prevent growth of oxygen lowing bacteria and oxidation of your beer. The beer should mature in closed bottles depending on you beer style. But generally you can satisfy you curiosity after about a week of maturation. If you like the beer, than there are no more barriers, otherwise leave it to mature some more.
-
Cheers!
Image credit: Amazing food