When searching for interesting things in a coffee shop, I stumbled upon a chocolate covered coffee beans, advertised as »providing a quick kick«. Naturally I got interested, but upon deeper contemplation, decided to first do some research and latter to prepare chocolate coffee beans myself!
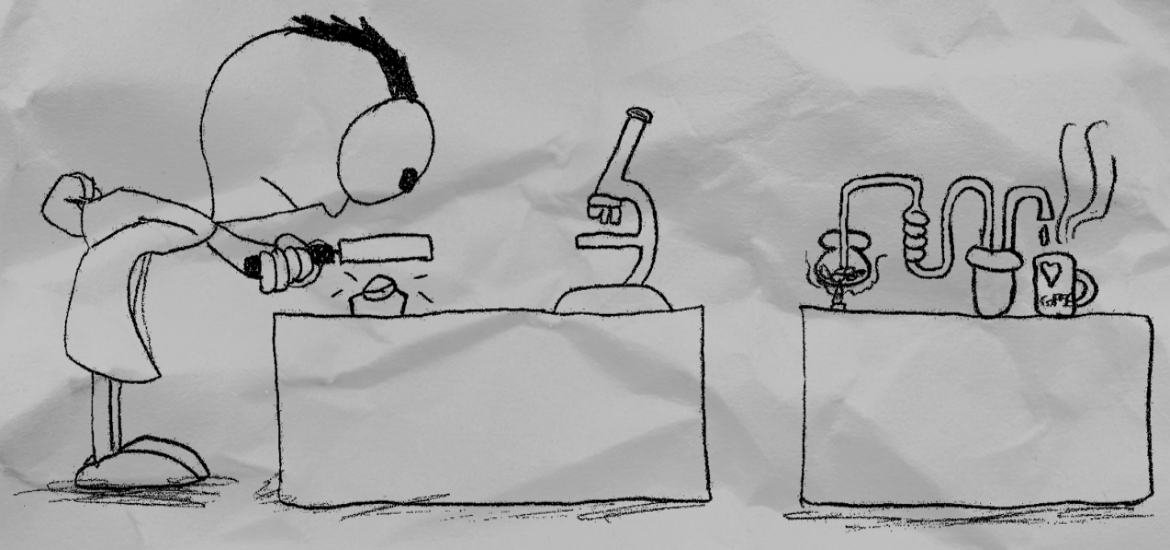
Background
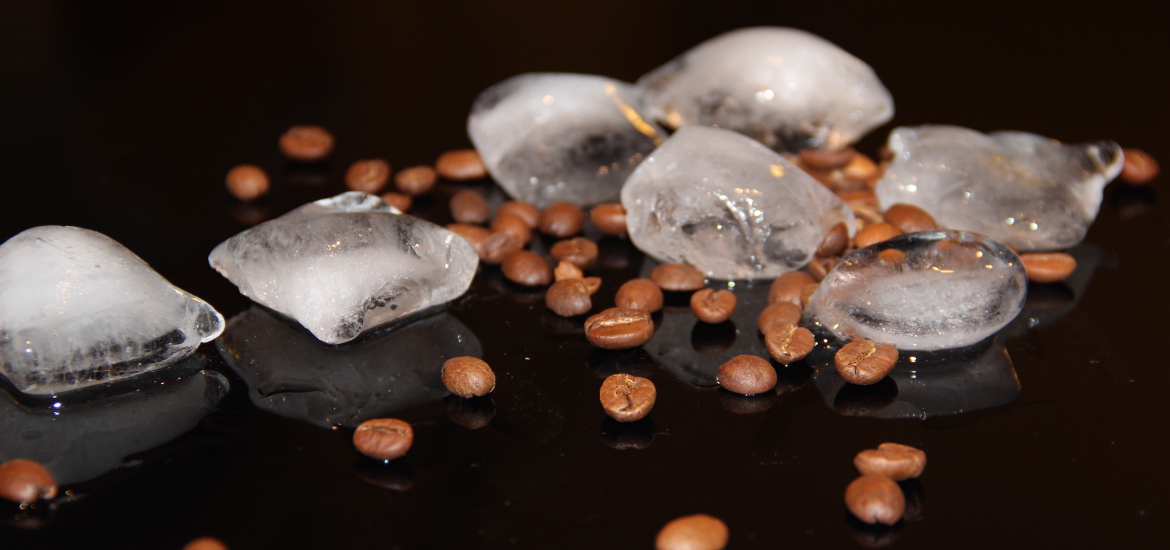
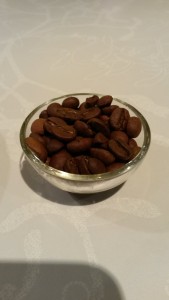 So, according to USDA, chocolate covered coffee beans can have as much as 300 mg of caffeine per 40 g (28 pieces). Let check this twice. Usually arabica beans contain around 1% of caffeine, while robusta beans contain around 2% of caffeine – with an average weight of a been around 130 mg (according to here, and measured by me 129,99 (14,29 g /110 beans) – we got a perfect fit, confirming the coffee bean mass all over the world is the same) – this would be 360 mg of caffeine per 28 pieces. Fairly close to the USDA listing. That is definitely close enough for me, to make an estimation – a regular coffee contains around 40 mg of caffeine, meaning I would have to eat around 4 beans to get there – a reasonable amount (given that they are chocolate covered, I would even dare to say a ridiculously low amount).
Making chocolate coffee beans
So, on to making them. A quick glance to the internet for initial guidance – recipe and a video confirmed my idea – just melt the chocolate, throw the beans in, take them out and allow to cool. Maybe do some stirring while you at it, to spread the chocolate evenly. Naturally the chocolate has to have the right consistency – not to thick, otherwise it is hard to mix the beans in and later take them out. On the other hand the consistency should not not too thin, so the chocolate will stick to the beans and a nice thick cover will form. This consistency modification is – luckily – easily achieved by temperature – if it is too thick, warm a little bit more, if it is too thin, just let it cool down a bit. I used chocolate intended for cooking – since it has a fairly high amount of cocoa and a nice dark chocolate taste that goes well with the coffee taste.
The result was not exactly as expected. The beans did not cover so well as expected – the coating was too thin, so I let it cool for a bit to increase the viscosity. With thicker viscosity the coat could be thicker, but separating beans apart was tricky and the coat was definitely not smooth. Look at the picture below to get the idea just how hard is was to separate the beans from that thick mass.
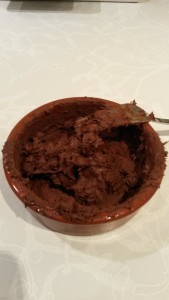 The coating was therefore thick on some places and relatively thin on the other – a direct consequence of separating the beans one from the other. When everything cooled down, the beans looked like little hairy bears. This could not be improved even when I played with the viscosity of the coating chocolate. This was the best the process could offer. But the thing that bothered me most was the uneven coating distribution on a single bean – some places quite thick while thin on the others. This was definitely not the process to use for my dream chocolate coffee beans.
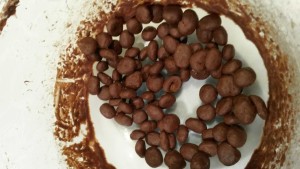
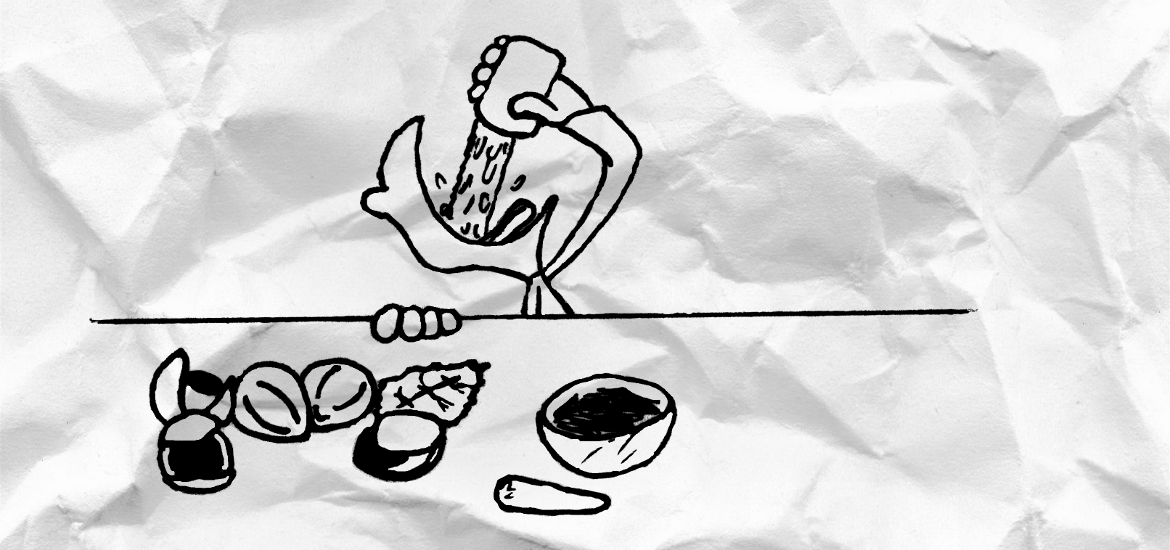
So I turned to more sophisticated approaches. I tested the common industrial method – to apply chocolate on to the rotating beans – which is reversed compared to the above kitchen method where you put beans into the chocolate. This is a standard procedure in the food industry used to cover anything that is round. Naturally I did not have a rotating drum or any similar specialized equipment used on the industrial scale (and frankly, I did not want to make an experiment on 10 kg of coffee beans). I settled for the kitchen utensils and used a simple bowl and mixed the beans with a cooking spoon.
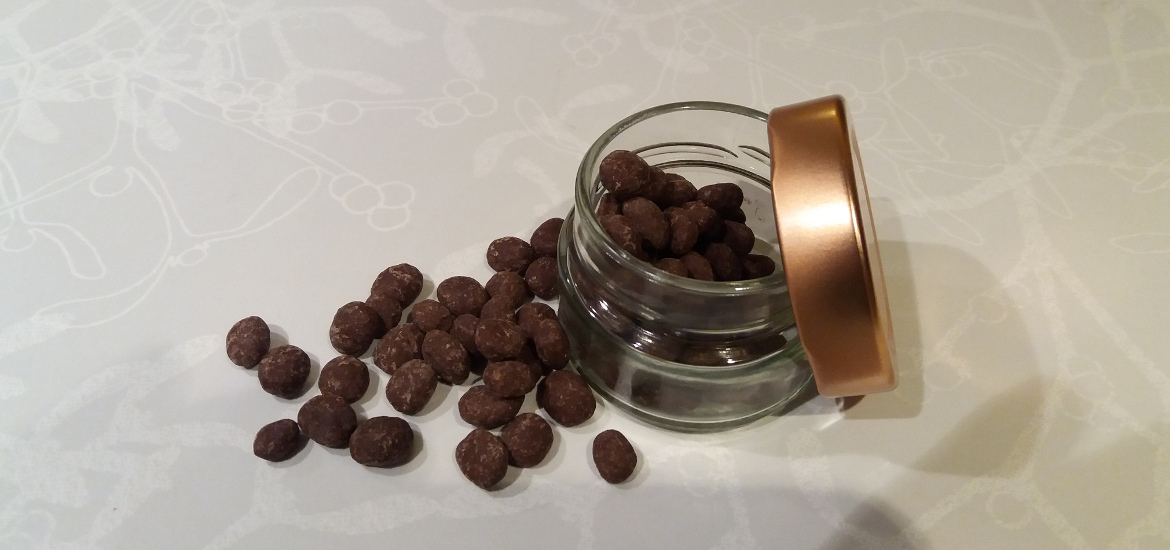
The process is simple. Put the beans in the bowl. Melt the chocolate – the viscosity of the melt is not so important as I was surprised to find out – and add small quantity of the chocolate on the beans and mix with the spoon, so that the chocolate spreads equally all over the beans. The beans should look like they have been equally moistened with something – and then you continue stirring until the chocolate solidifies. The beans can stick together in clumps when the chocolate is still melted, but when the chocolate solidifies they come apart – especially due to the stirring of the beans with the spoon. When the chocolate has solidified and the beans have come apart again, you add another small quantity of the chocolate and repeat the process. This can be repeated for as long as you like, so you can precisely control the amount of the chocolate covering the beans. And the beauty of it is that the beans all equally covered regardless of the amount you use. It just makes the process longer. And this is the main thing – if you want to put a lot of chocolate on the beans, the process is going to be long. And by long I mean really long. Anyway the final chocolate coffee beans look really nice, as you can see on the picture below.
Encouraged by the chocolate results, I also decided to cover the beans with croquant (a kind of caramelized sugar – very tasty!). I considered using a modified recipe containing honey and cardamom, but finally settled on plain sugar. The techniques were the same – pouring the molten mixture over the beans and stirring. Sadly, this did not work out as planned, since the melt solidified almost immediately and could not cover the beans completely. Clearly the beans should be heated – which is technically a challenge in the kitchen, as well not beneficial for the coffee flavor.
Therefore I decided to postpone the croquant coating to another day….
Related posts:
 Caffeine solubility, content in coffee beans and extraction
 Caffeine from coffee, tea, matcha, mate, guarana and soft drinks – is there any difference?
 Cold brew coffee
 Caffeine extraction
 How should I brew my coffee?
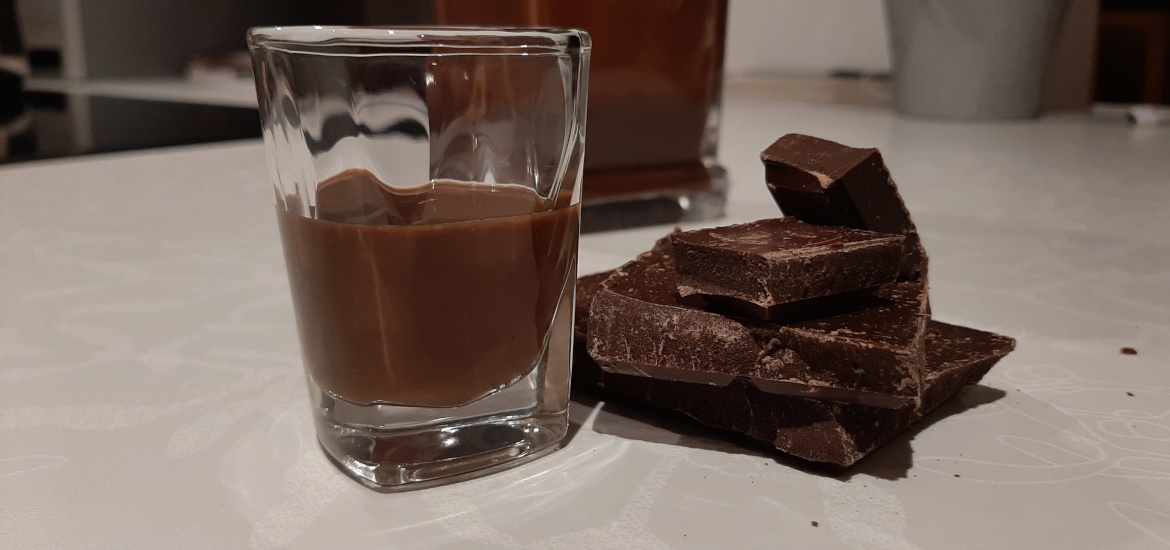 Dairy free chocolate liqueur
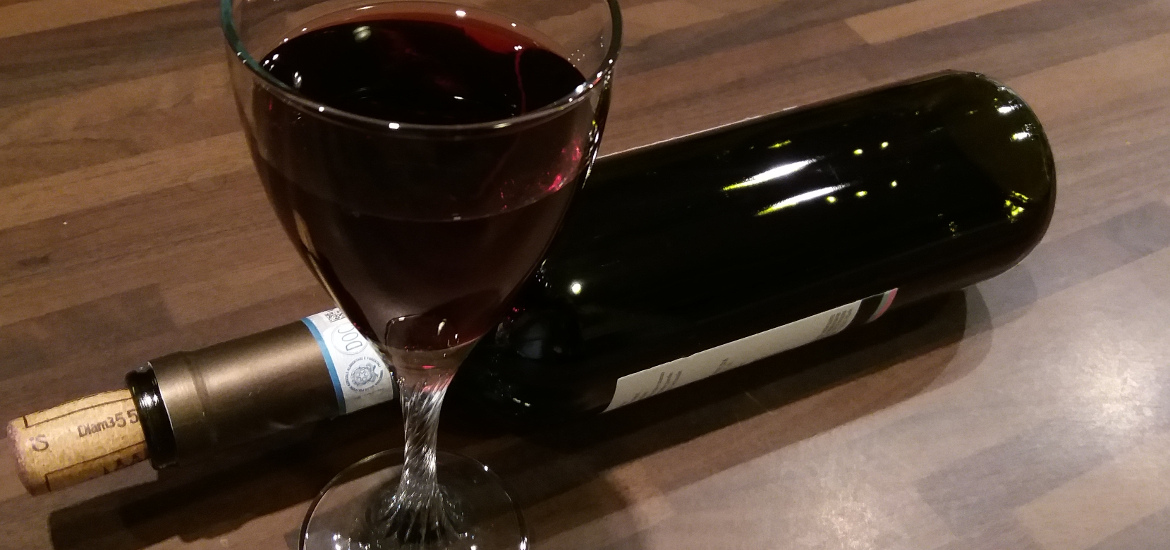 Making the Klingon bloodwine
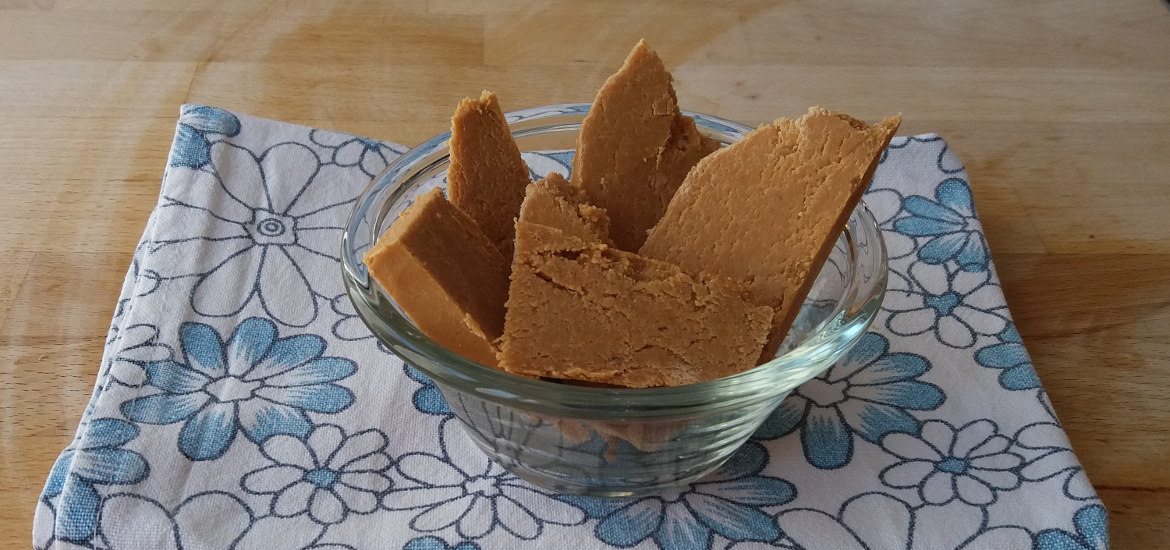 Fudge and sugar crystals science