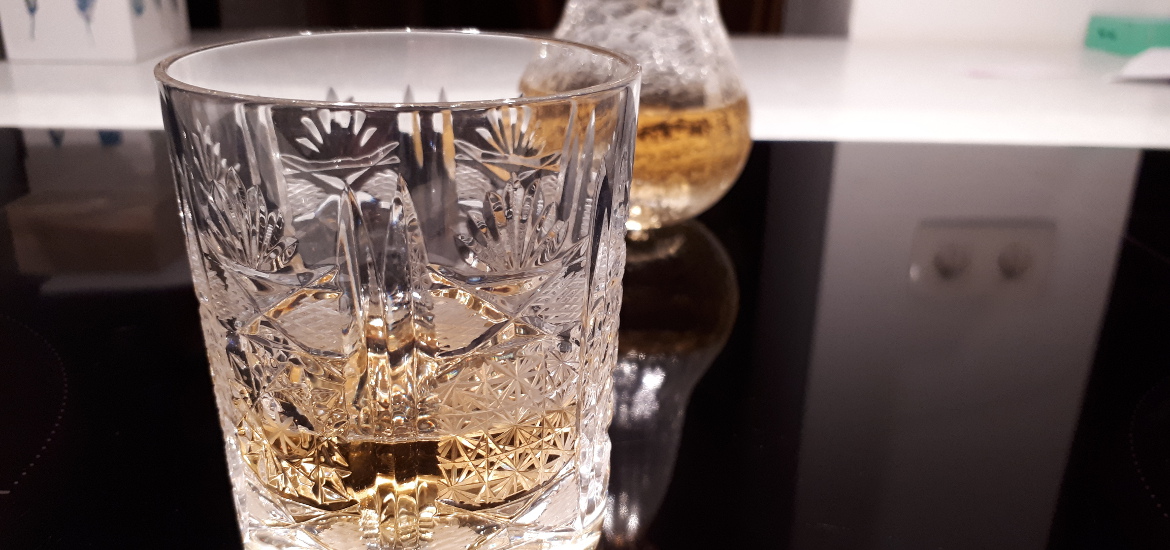
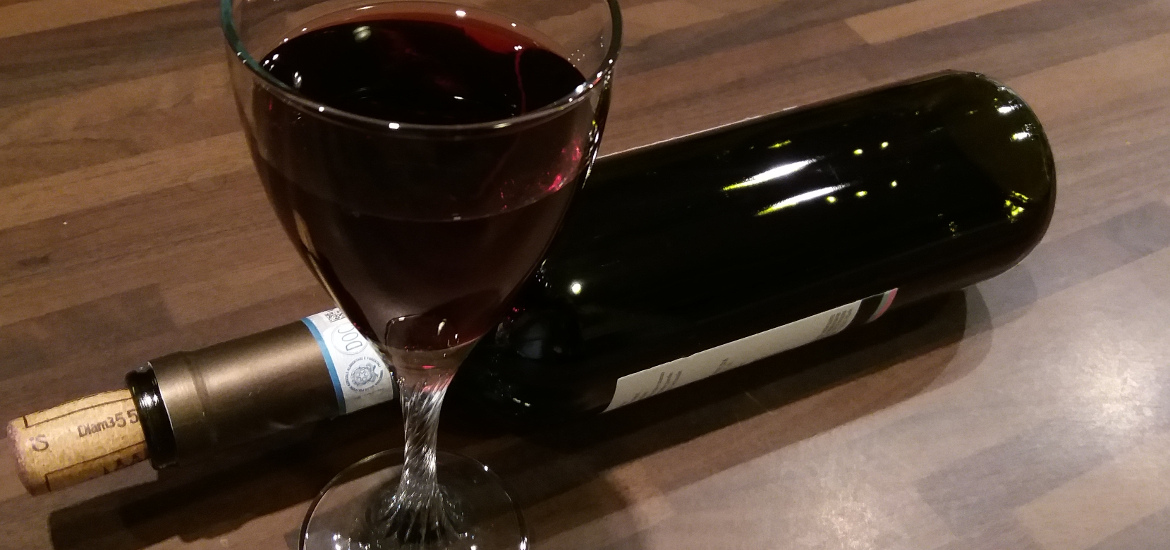
Cognac is one of the most recognizable high society drinks. It is really not hard to imagine important looking people in an antique furnished room, sitting on leather couches, discussing important things and drinking cognac from nice rounded glasses that they delicately warm in their hands.
Well, drinking brandy I should say, although this dispels half of the magic. Cognac is a brandy made in France, in the region around the town Cognac, from which this variety of brandy got its name. There are other regions in the world famous for its brandy, which also have specific names, but Cognac definitely takes the first place in the brandy department. Hennessy, Courvoisier, Martell, and Remy Martin are all cognacs.
Anyway, making cognac, good cognac, is fairly easy, even if you do not live in France. Provided that we do not consider time as the crucial commodity since making cognac does take time. A lot of time. But luckily during this time you are not required to do much. You mainly sit back, relax and wait for cognac to reach the perfect taste. All the work you need to do can be summed up in only three steps to get a perfect cognac.
First step
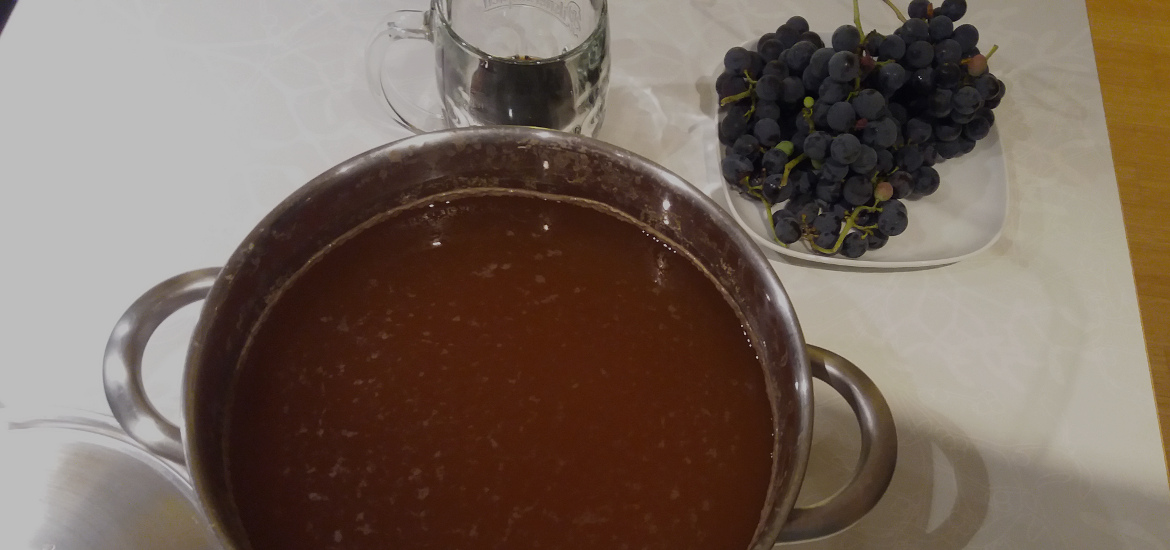
The first step in making cognac is selecting the wine. In theory, any wine will do, some are even advocating that you should use poor quality wine. The reasoning goes that while it makes little sense to drink bad wine, poor quality should not be noticed in the wine distillate, hence this is the best use for such wine. In my opinion, this reasoning is disputable and leaves a lot to be clarified – for instance, how do you make sure that the bad things do not end up in your distillate.
I also firmly believe that if you use excellent ingredients the result is almost guaranteed to be excellent, provided nothing went horribly wrong during the preparation. Therefore I am strongly in favor of selecting a good wine for the distillation. If you like the taste of a particular wine then it is definitely suitable to be turned into a cognac. Distillation brings out the essence of the wine – confirmed by my experience – and if it is a good wine, the essence would also be good.
It is amazing that even after double distillation the spirit still has a characteristic taste and smell. As said, you can use any wine that is good in taste – either red or white, though the tradition and I prefer white wine. All other things like acids in the wine, pH and amount of sulfur are not that relevant. They do play a role but if the wine is good, they should already be balanced enough. For more in-depth information about selecting the optimal wine, read my post dedicated solely to the science of choosing the best wine for brandy distillation.
Second step
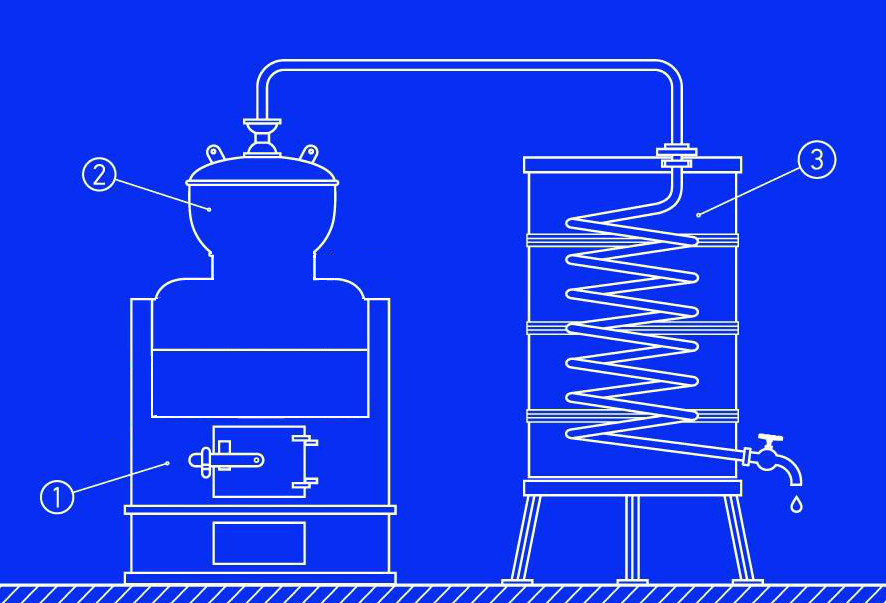
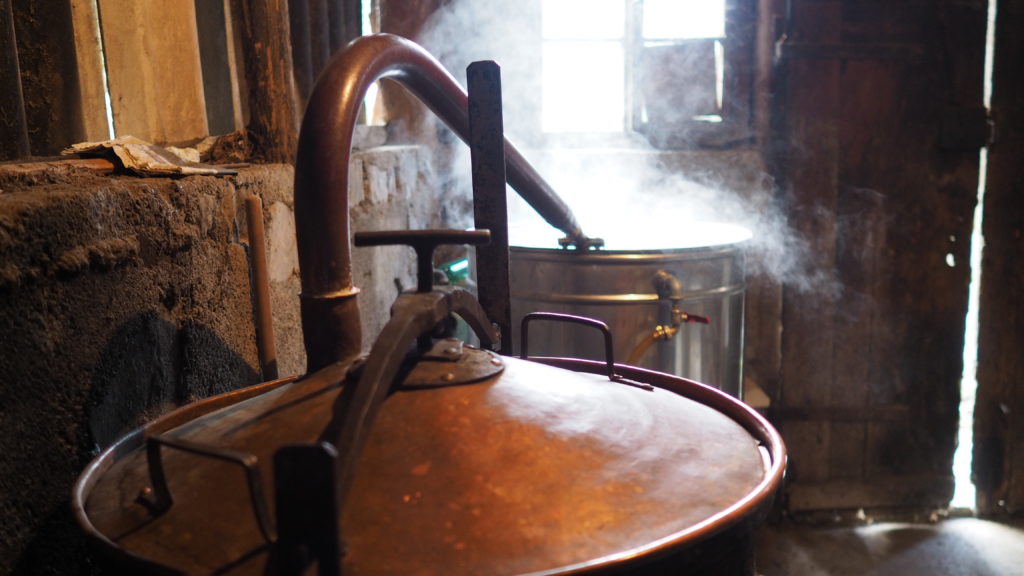
Next step, as already mentioned, is the distillation. Nothing too complicated, the schematic of a simple distiller is shown in the picture below. You heat up the wine, catch the fumes, cool them down so that they condense and catch the liquid. To really get the pure essence you repeat the distillation again with the first distilled (i.e. condensed liquid). Traditionally – and practically – copper kettles (number 2 on the picture) are used for the distillation since copper ions catalyze the oxidation of aldehydes to less troublesome compounds.
Distillation is a great process to separate (or purify) different substances according to their boiling point. So it is a good idea to discard the beginning and the end of the condensate since there are located the things you do not want in your cognac. If you do this in every distillation step, you get purer and purer substance.
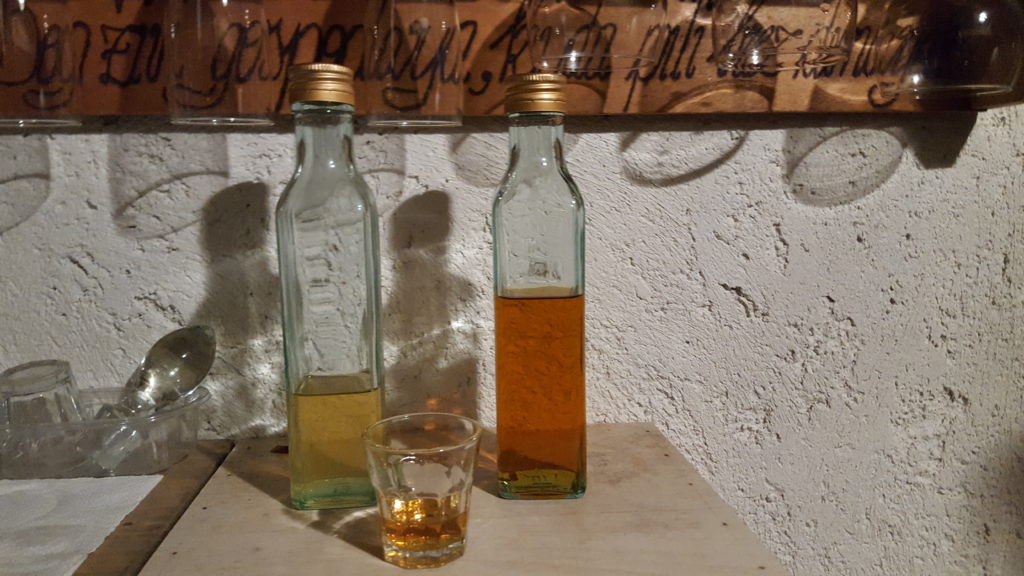
Let’s put some numbers to the theory: when distilling 100 liters of wine, first 0.5 to 1 liter of the condensate are discarded, next 33 liters are retained and the remaining 66 liters of the liquid in the kettle is discarded. In the second distillation, 33 liters of “the heart” from the first distillation is distilled again. First 0.5 liters is discarded and the next 11 liters are retained. This 11 liter is “eau de vie”, it contains around 70% of ethanol and it is the thing that is the goal of the process. This condensate is moved to the third step, while everything else is discarded.
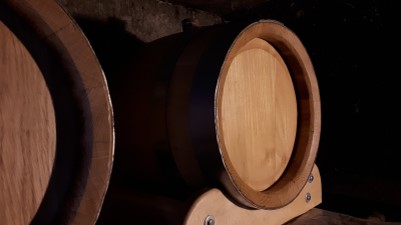
Third step
From the condensed liquid to final crystal smooth cognac there is only one step left. Maturing in oak casks. This is the simplest one, but it takes a lot of time. Just pour the condensate from step two into fresh oak barrels and wait. The longer you wait for the better, in general, three years is the minimum time for cognac to develop its color and taste. Maturing also depends upon the size of the cask – smaller casks mature faster since they have greater surface/volume ratio.
I do recommend that you taste it before that since it is really magical how the cognac matures. At the very end, your cognac would need to be diluted to drinking grade – from 70% in the barrel to 40 % ethanol in your glass. It is highly likely they your cognac will turn hazy when you dilute it. Do not worry, just let it settle for a week or two and then filter out the haziness. For more information and explanation, read this post, where I go more in detail about the phenomenon.
Finally, you can further improve it by blending, but more on this in another post.
Wow wow..
Three simple steps…
I’m going to give a try, because I love cognac. .specially Hennessy..
Do try it!
It will be better than Hennessy 🙂
I would assume there is a set degree of temp that best distills the wine to get the correct process for making brandy or cognac.
Great observation! Luckily, thermodynamics is here to save he day. Your boiling wine is namely always at the same temperature – if you apply more heat, the vaporization will increase, but the temperature will not rise. This means your liquid will just boil more vigorously. Naturally, you do not want chaotic boiling in your destination system, so there is an optimal amount of heat that you should apply. But do not worry, this optimal range is broad.
To be completely accurate, the temperature of your boiling wine increases with time, since the amount of ethanol decreases. So, in theory, you should gradually increase applied heat to maintain the same vaporization (boiling) rate. In real life this is also often the case (I do it), but it is by no means critical. It will have little influence on your quality, the main effect is in the duration of your distillation process.
Hello amazing-food.com
Make Delicious African Soups Like a Pro in your own kitchen!
Indulge in becoming an expert at creating various and flavorful forms of Ghanaian Soups using tasty ingredients such as Tomatoes, Peanuts, Spinach, and more, through easy-to-follow cookbooks!
Browse Our Books https://zeep.ly/bLjg1
Thanks, Micaela Crandall
If you no longer wish to hear from us, please reply to this email.