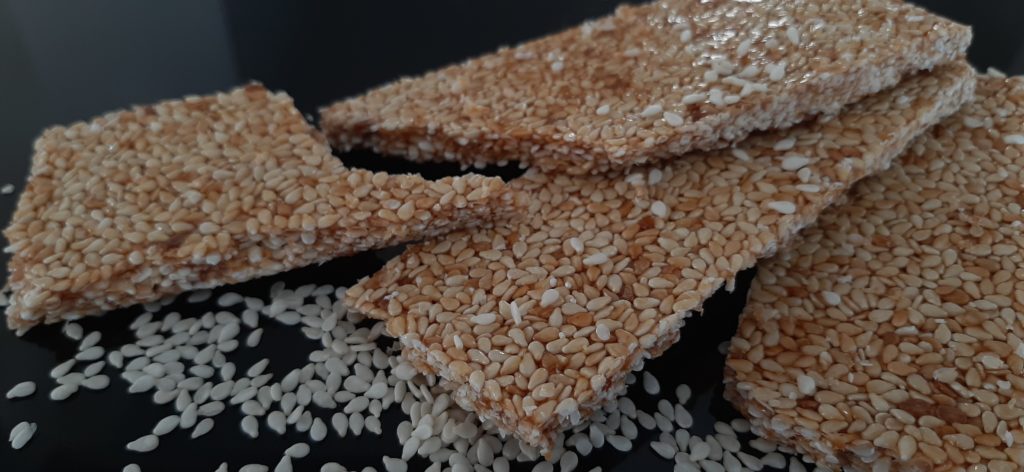
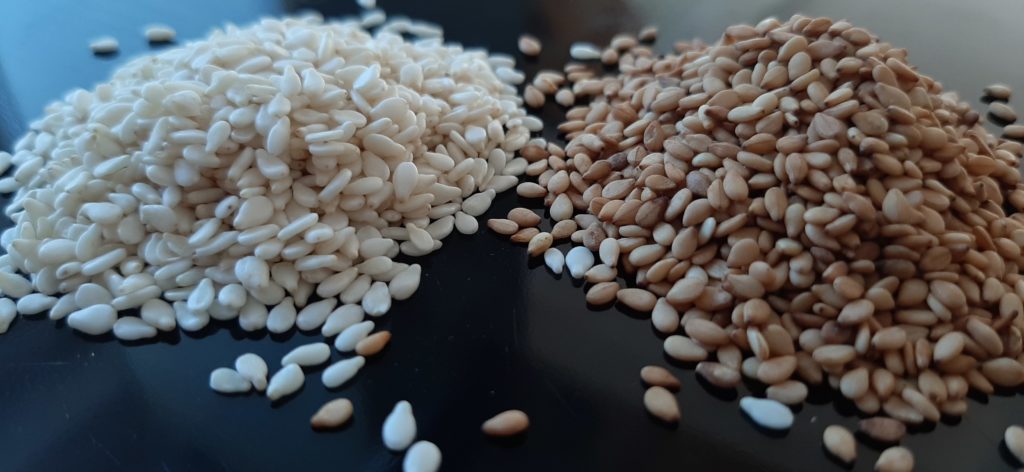
Sesame seed bars are awesome. They provide a quick boost of energy with simple sugars and a long lasting hunger quencher with starch and lipids from sesame seeds. A perfect energy boosting snack. But it does not stop there, sesame seeds are also full of vitamins, minerals, phytosterols and other nutritional substances. Besides all the nutritional value, sesame seed bars have a range of other advantages. For instance, they are lactose and gluten free. They can last for years without losing the nutrition value or flavor. They can be stored at any temperature and do not melt like chocolate when it get hot or when you carry them in your pocket. Basically as long as you store them in a dry place they are indestructible and alway ready to be consumed. They are also relatively light to carry around, considering the energy boost they provide. And finally, they are super easy to make.
So I tried a couple of recipes. Like this one or this one. They are ok, but i created a kind of my favourite one. The main ingredients are always the same: sesame seeds, sugar and honey. You can also add spices like cinnamonor cardamom, but this is purely a matter of taste. I prefer my bars only with a hint of cinnamon. The main problem with home made sesame bars is the stickiness. You can not stack them together or avoid sticky hands if you do not solve this problem. The secret is in the ratio of ingredients. You need enough of them to hold the seeds together, but again not too much. From all the recipes I tried non had the desired texture – all were a bit sticky. Usually the ratio of sesame, honey and sugar is 3 to 2 to 1. For each gram of sugar you add 2 gram of honey and 3 gram of sesame seeds. First, I tried to increase the amount of sugar, which resulted in even stickier bars. Next I tried only honey, as suggested by the greek style recipes.
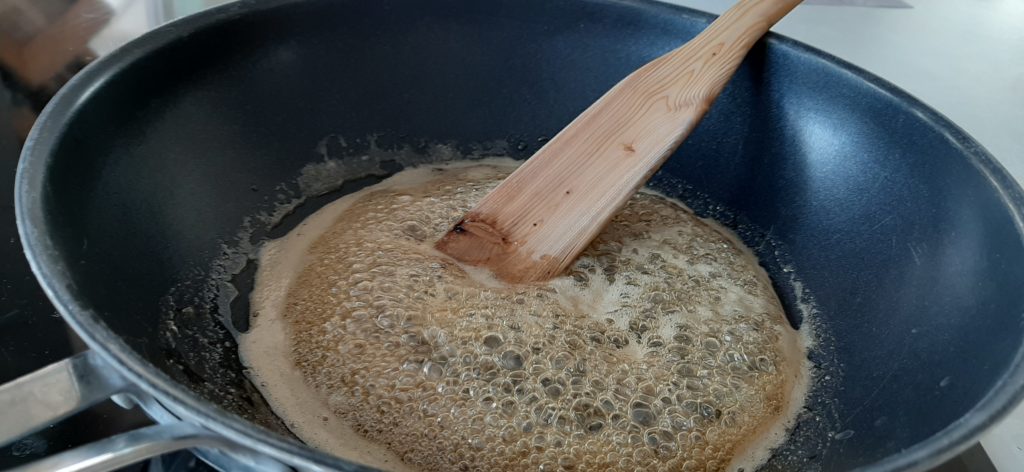
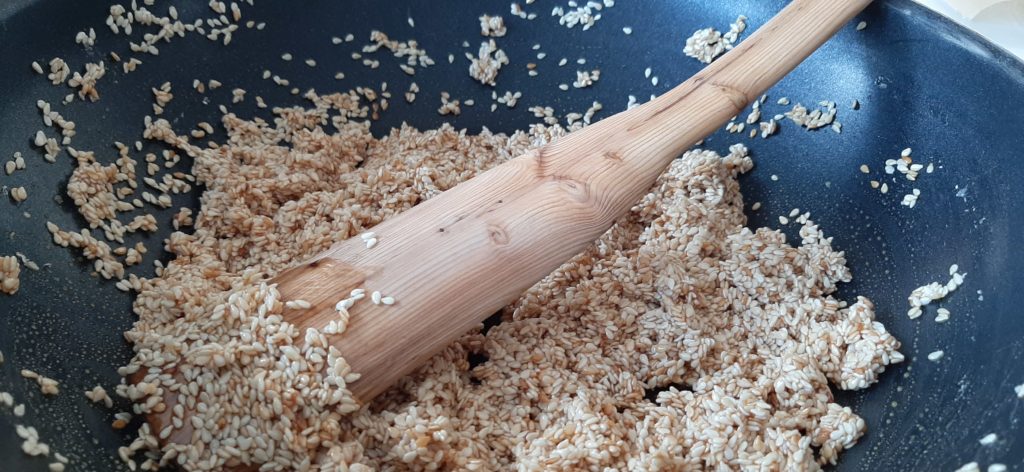
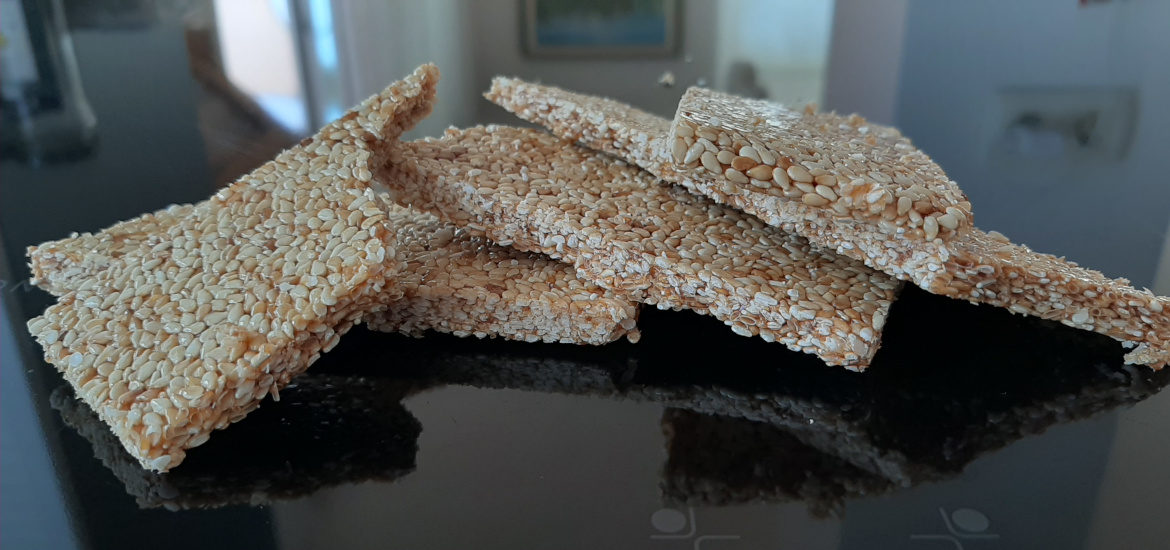
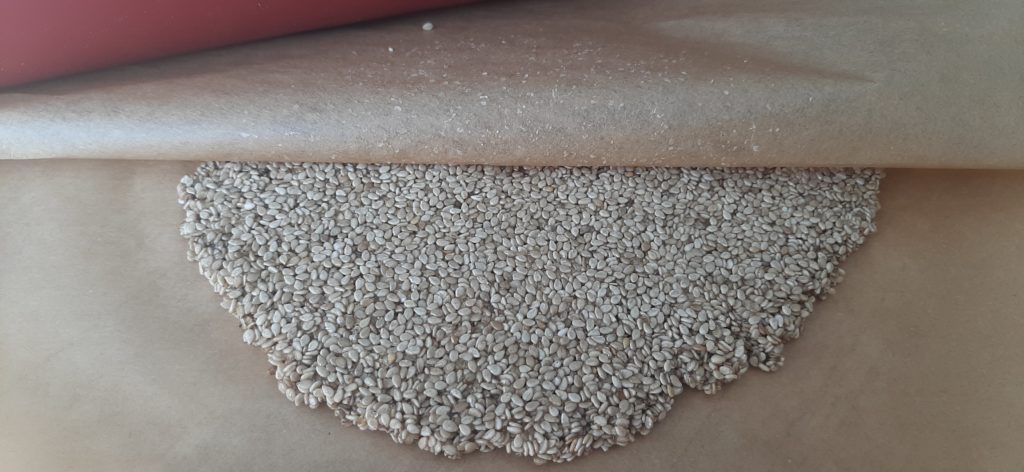
This worked like a charm. I did incorporate the experience from the previous trias with the new recipe and the end result was exactly as I wanted. I used the amount of honey from the previous experiments, since this last recipe used a bit too much honey. And the hint about longer roasting proved to be really helpful. What’s more, I even upgraded the process of roasting a bit. To describe the procedure briefly, I used 1.5 gram of sesame seeds per 1 gram of honey. One could use even more sesame – something I will definitely try in the next experiments. I also wanted to roast the sezam seeds as long as possible, therefore I did not roast them beforehand. This also proved to be a good idea. After boiling the honey for 4 minutes on medium heat, I added the seend and roasted the seeds for additional 15 minutes on medium heat. The seeds turned golden and got that nice sweet and crunchy taste. The whole mixture was hard to mix in the beginning, but it turned soft after around 5 minutes and was afterwards easy to mix and spread on the baking paper. With the help of two sheets of baking paper I spread the roasted seeds about 1 centimeter thick and l left them to cool down. It turned out that it is better to cut them when they are still soft, since after the bars were cooled down they were relatively brittle and cracked when I wanted to cut out smaller, hand sized sesame bars. Nonetheless, the bars were perfect: sweet, crunchy and practically non-sticky. Even after storing in a stack for three days, they did not stick together. A complete success!
Sesame bar recipe
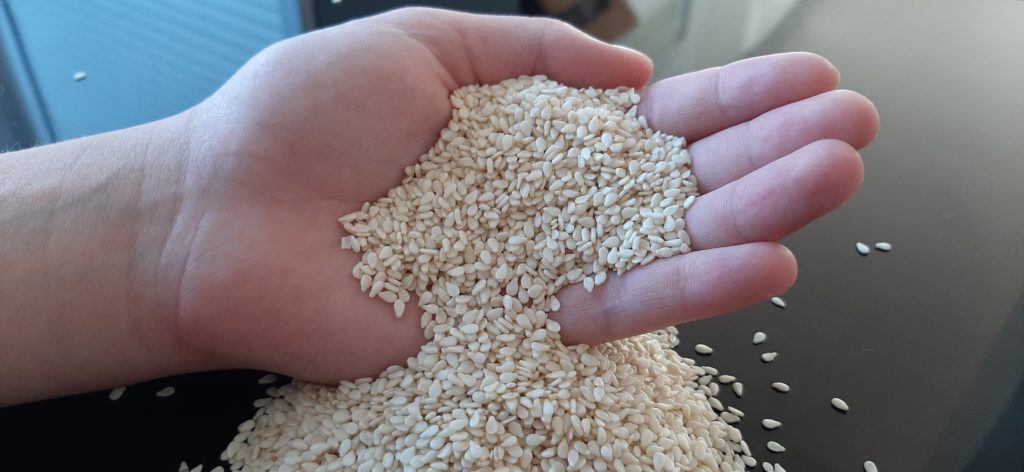
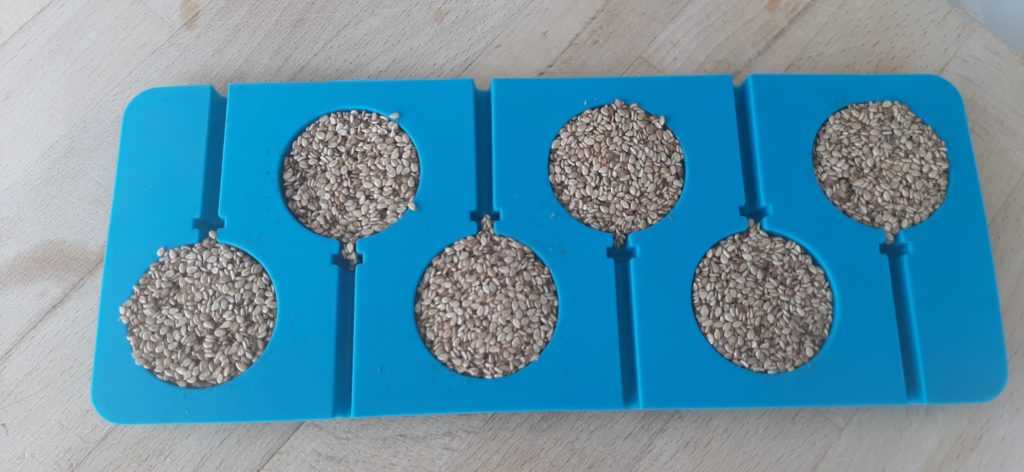
- 150 gram unroasted sesame seeds
- 100 gram honey
On medium heat bring the honey to boil. Cook for 3-4 minutes. Add sesame seeds and continue cooking on medium heat for around 15 minutes, until the seeds are roasted to your taste. Pour the mass between two sheets of baking paper and roll to the thickness of around 1 centimeter. Cut the bars while the mass is still warm and leave to cool down. Store in a dry place.