OVERVIEW
Besides heavenly taste fudge is a great example of crystals and crystallization process. It shows how the main thing in creating a sweet is the process, not the ingredients. When you put in the basic ingredients (primarily sugar) and follow the procedure, everything is great. But if you miss a step in the procedure or the temperature setting, the sugar crystals come out differently and your fudge is gone. However, when you understand the basic science behind it and have an idea about the crystallization process, there is nothing stopping you to play with ingredients and discover new and wonderful combinations.
Sugar crystals science
But first, some playing with sugar is necessary for background education and, above all, fun. The temperature of the sugary mass is the single most important thing and determines the consistency and texture of your final product. The easiest way is to measure the temperature, but this is not as easy as it sounds and it was practically impossible a hundred years ago. So sweet makers developed another way to determine appropriate temperature: quickly cool the sugar mass by dropping it into cold water.
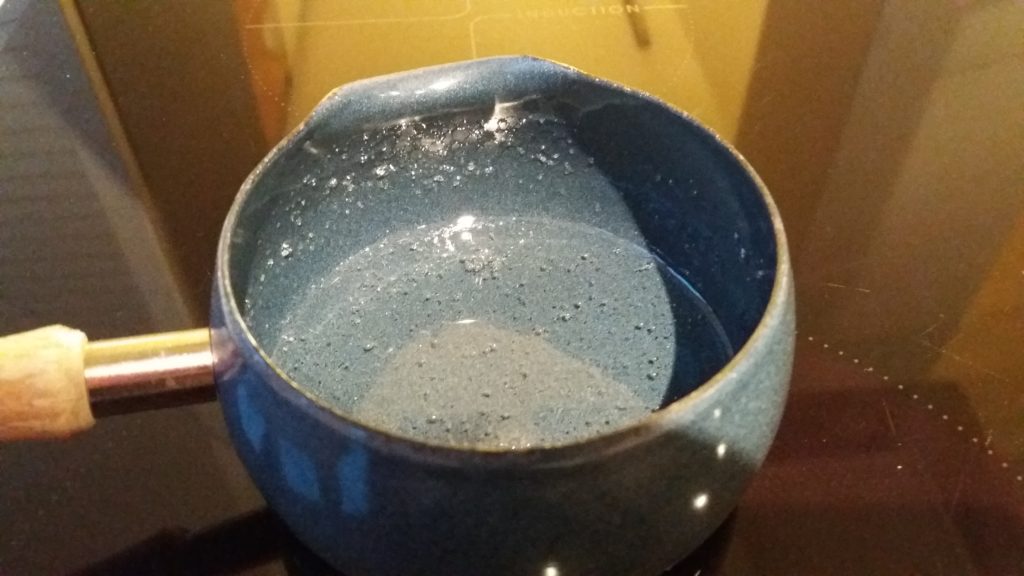
This is so elegant and straightforward that it is still in use today – I also regularly use it to double check the thermometer readings. The process is easy. Take about two parts sugar and one part water (by volume). Around two spoons of sugar and one spoon of water is enough for basic testing. Mix it up in a small pot – the sugar will not dissolve yet – and heat it up in a small pot until it starts to boil.
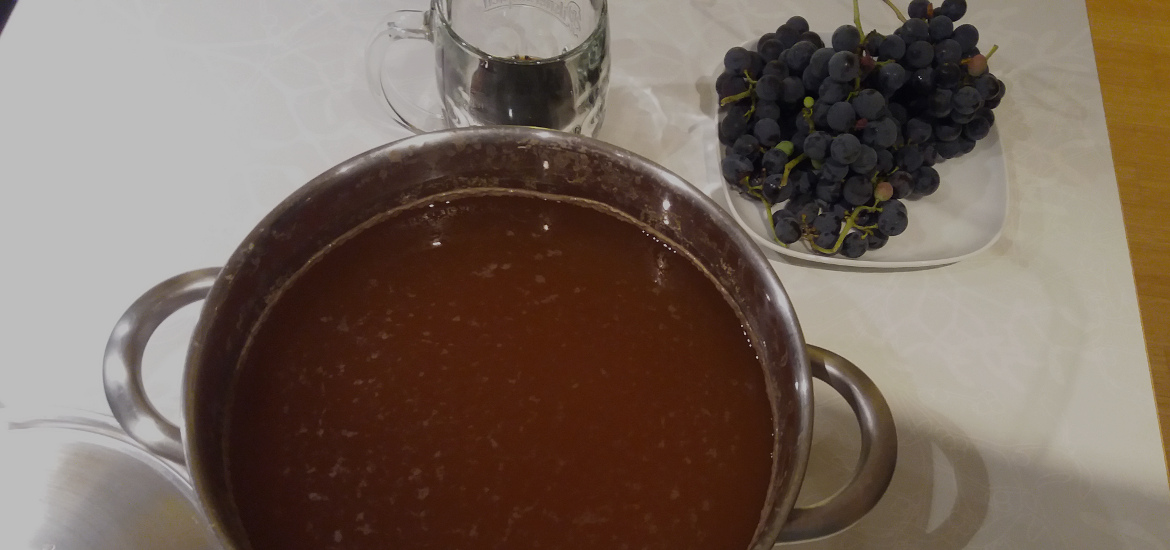
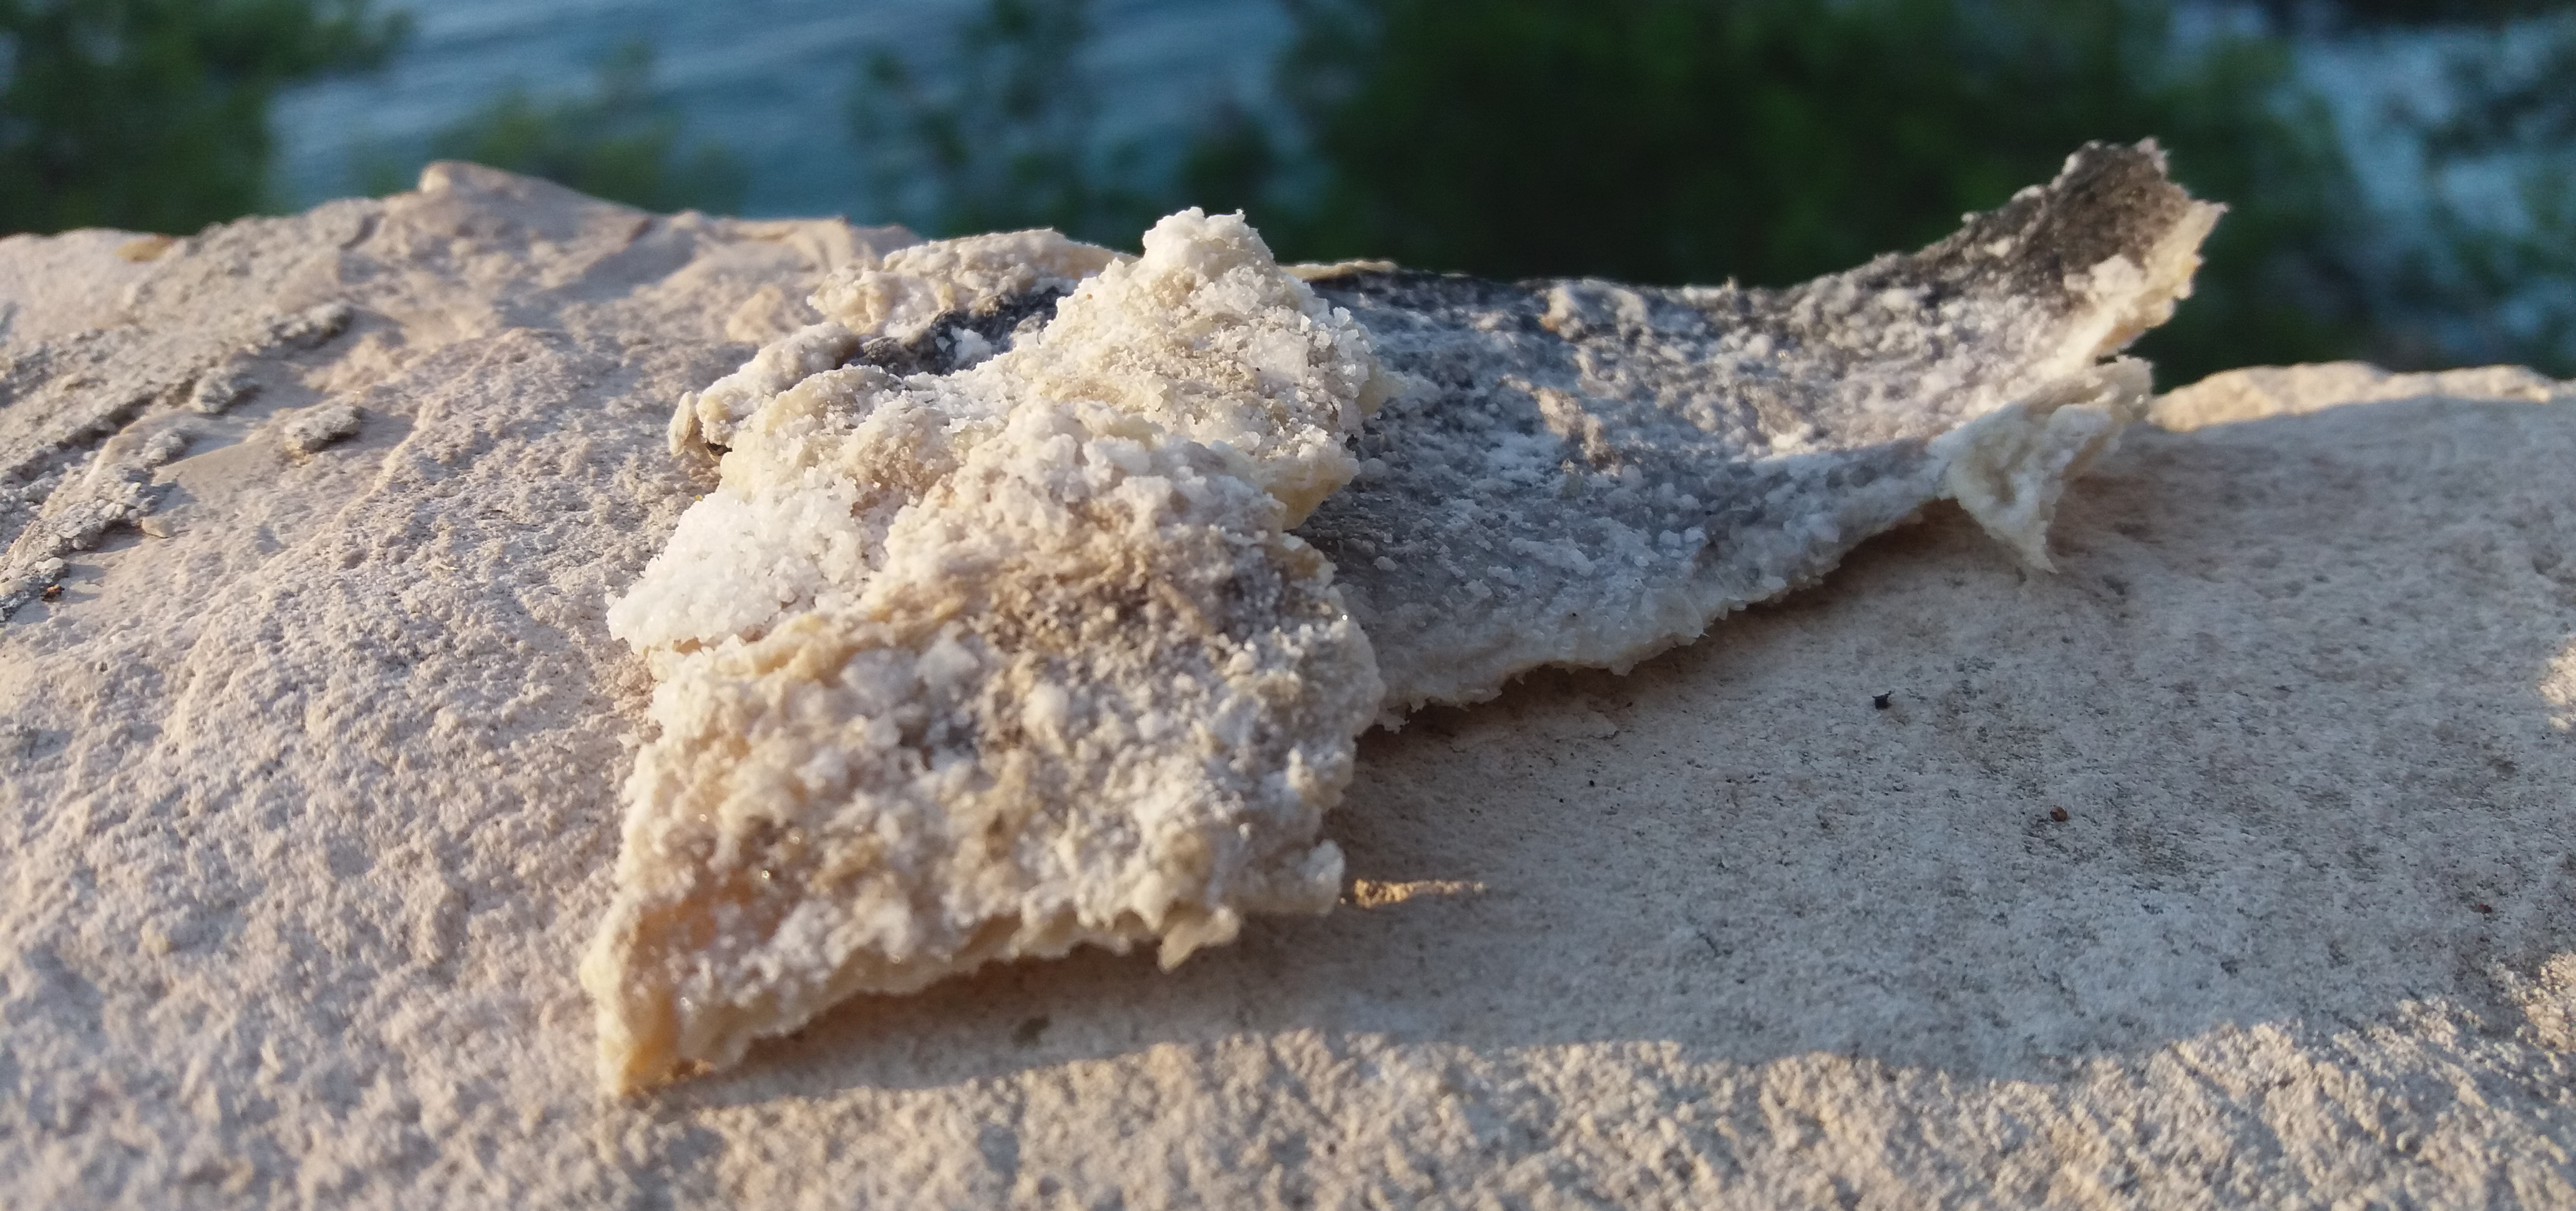
Now the sugar should be completely dissolved (see picture above). Measure the temperature – it should be around 103 C. Take a small spoon of the hot mass and drop it in water. It should be visible, but when mixed, it should dissolve immediately.
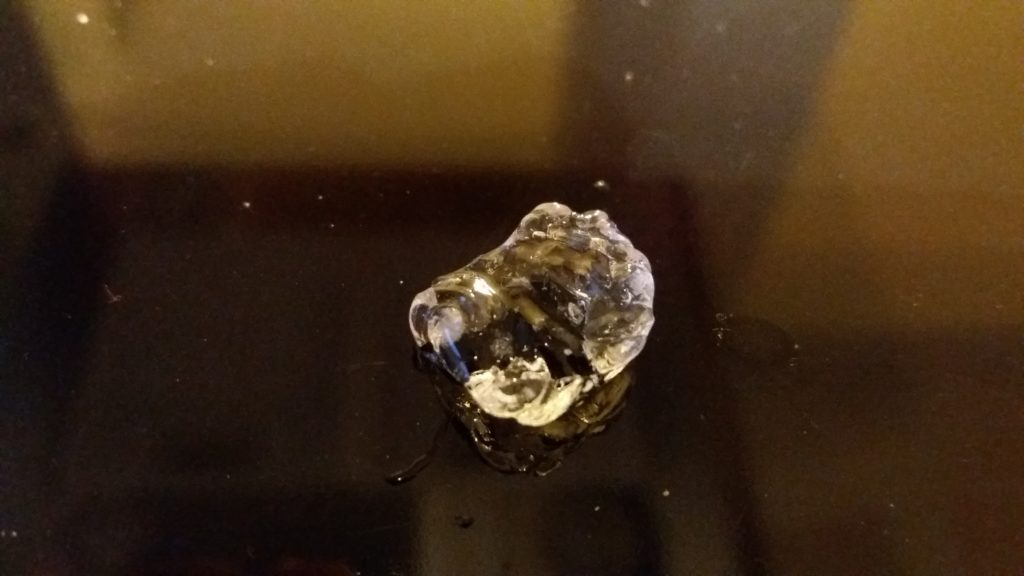
Keep the mass boiling slowly and watch the temperature. As the water evaporates, the temperature should rise, since the boiling point of the solution is increasing due to increasing percentage of dissolved sugar. You can try dropping some more mass in cold water, the result should be the same – the mass dissolves when you try to pick it up. At the temperature from 113 C onwards the mass dropped in cold water does not dissolve. Instead, it can be scooped up by hand and kneaded – therefore the temperature around 113-115 C is called soft ball temperature.

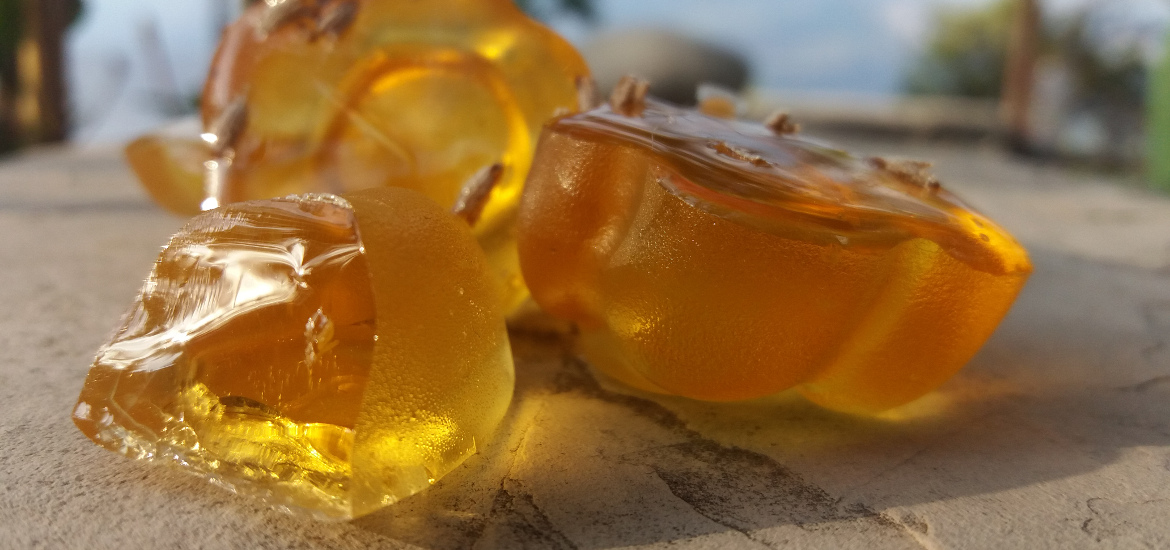
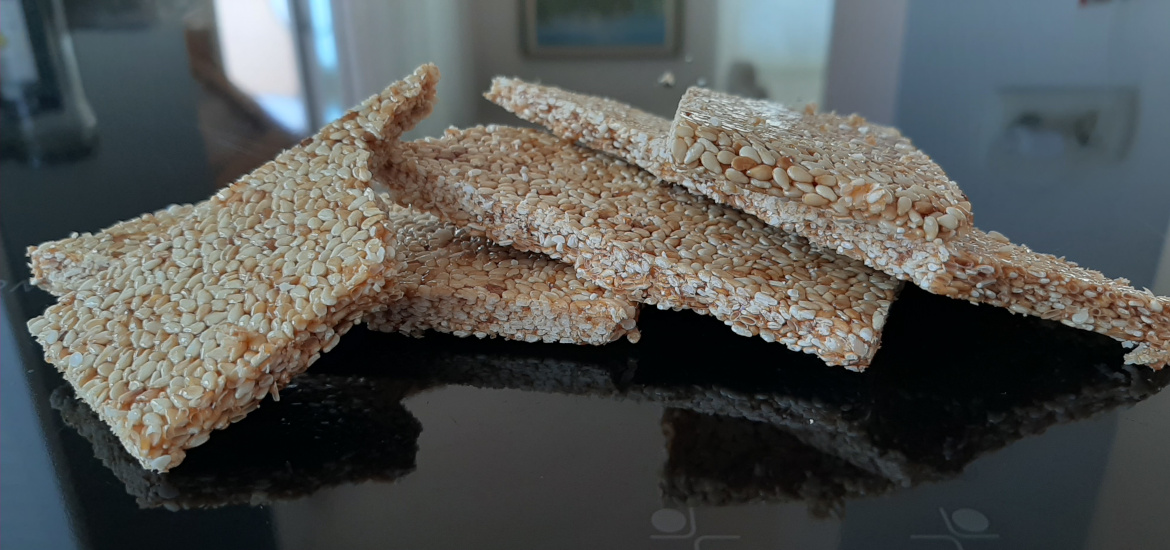
This soft ball consistency is relatively soft, but it increases with increasing temperature of the boiling mass since less and less water is present in the mass. The last interesting temperature is around 150 C when the mass is of hard consistency and is practically impossible to knead. The temperature is called hard crack temperature and is used for making hard candy. If you heat the mass further it starts to dry and loses its fluidity, and therefore cannot be formed anymore.
Soft ball temperature is used for fudge making, while hard ball temperature is used for candy making. All other sugar based sweets – like caramels and toffees – are made between soft ball and hard crack temperature. Performing this test really gives you the feel – literally – for texture and hardness of different sweets. Definitely, something to try out before going over to the real thing.
MAKING SIMPLE FUDGE
Now for the real thing – cooking fudge. The basis is sugar with the addition of fat (butter) and condensed milk, for exact amounts, check the recipe below. Well, condensed milk is really not required – you can boil down normal milk, but it just takes more time. However, this can be useful if you want to make lactose free fudge – just take lactose free milk and boil it down (see the recipe under the description of the lactose free fudge preparation).
Ingredients for simple fudge:
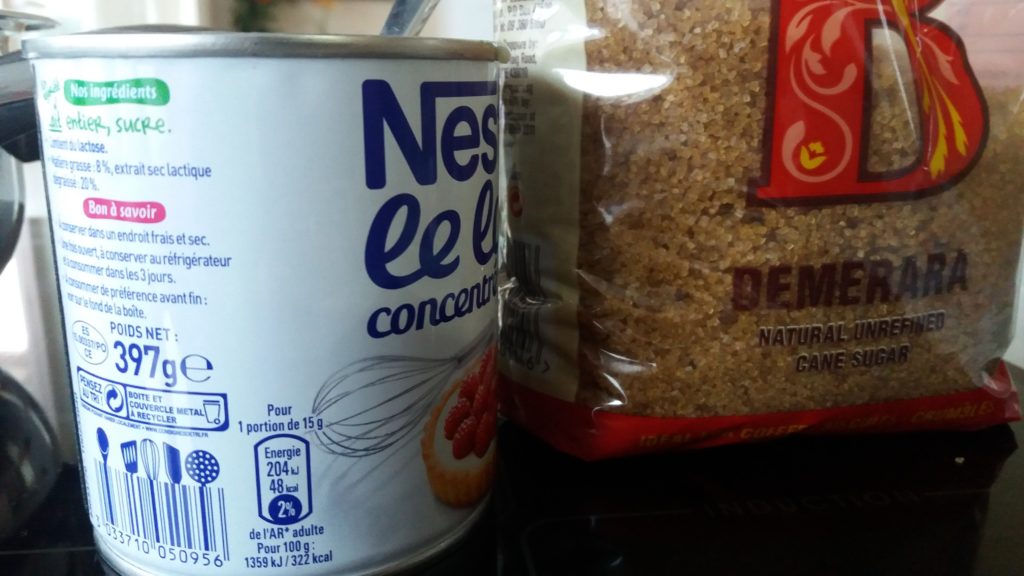
- 800 g brown sugar
- 800 g of condensed mil
- Large spoon of butter
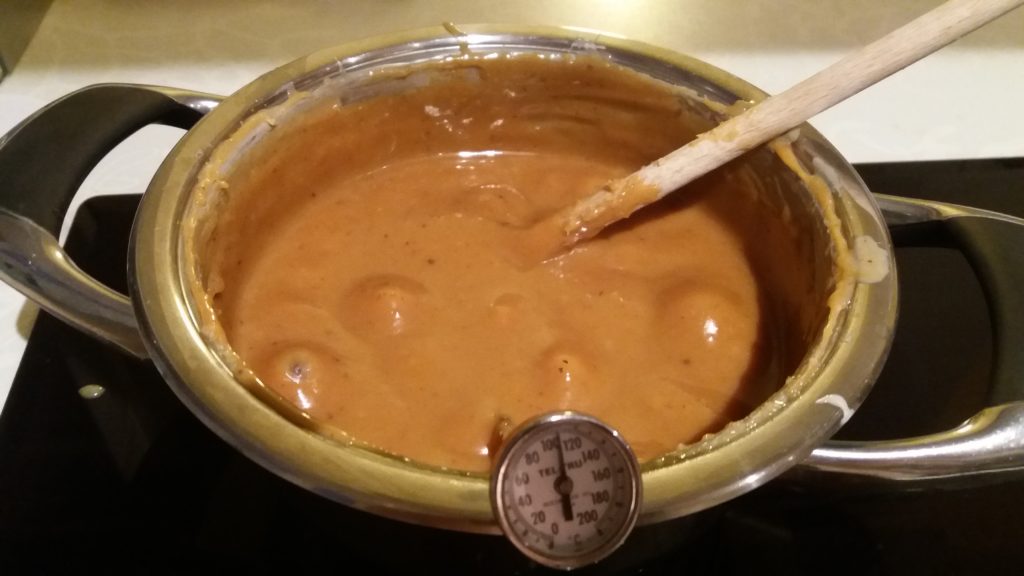
The procedure of cooking fudge is not so simple as the ingredients, but not too complicated either. Just mix all the ingredients and start to heat. Use low heat and stir frequently – condensed milk is quite thick and there is a lot of undissolved sugar, so the mass can stick to the bottom and burn quite easily. At around 103 C the mass will start to boil. Continue to cook on low heat so that the mass is boiling slowly. It is less thick than in the beginning, but it will get thicker when the water evaporates, so be sure to stir as needed. It is the best idea to stir constantly from the beginning, but the whole process of cooking will take around 40 minutes for 1,6 kg of mass so be prepared. You can try dropping some of the mass in cold water – it will dissolve
It is the best idea to stir constantly from the beginning, but the whole process of cooking will take around 40 minutes for 1,6 kg of mass so be prepared. You can try dropping some of the mass in cold water – it will dissolve the sugar from the previous experiment. The temperature of the mass will be rising slowly and the mass will get thicker and thicker. When the temperature reaches 113 C you are finished.
Again it is advisable to drop some mass in cold water to double check – a soft, kneadable mass should form. I personally prefer the soft ball test, since it gives direct results, whereas exact temperature measurement of thick mass can be tricky. Now the hot mass should cool down on its own, without mixing or shaking, to around 43 C. Just leave the thermometer in and check the temperature occasionally.
It takes around twice the cooking time to cool down the mass. For our 1,6 kg example, this is around 80 minutes. Now for the critical part: stir as hard and fast as you can. Be warned, the mass is really thick now and you need a strong spoon, otherwise, it might break. What happens at this stage is the rapid crystallization of sugar in forms of really small crystals. By letting the mass cool slowly without mixing, a supersaturated solution with sugar is formed, which crystallizes immediately when stirred.
Since crystallization is extremely fast, only small crystals can form, which are so small that they cannot be felt in the mouth and fudge gets its thick, velvety texture. If the crystallization would start sooner, the crystals would get bigger and the fudge would have grainy, sandy feeling in the mouth. For more detailed explanation of the crystallization process, you can go here.
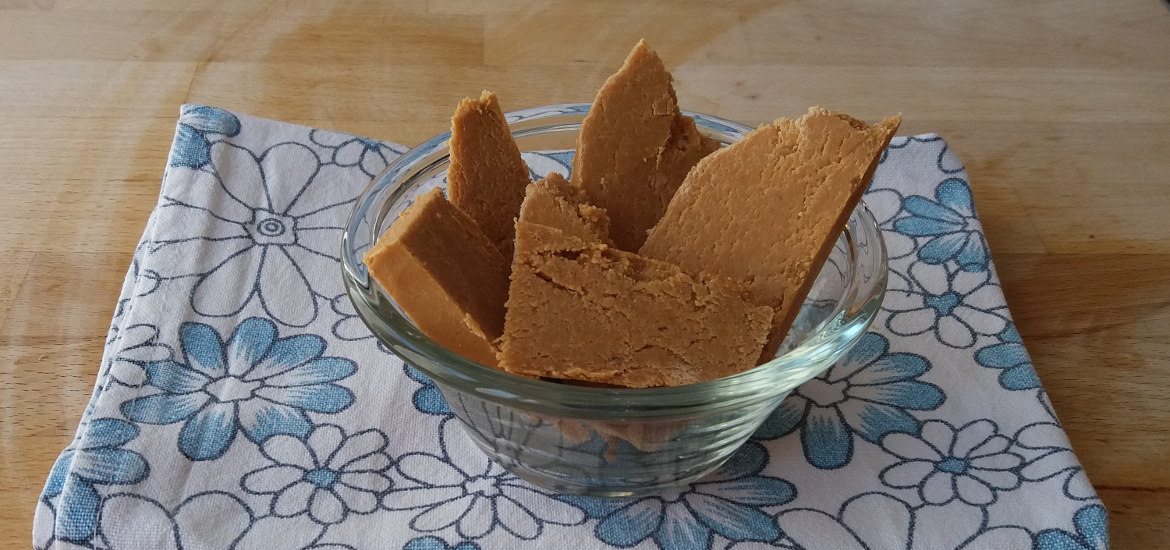
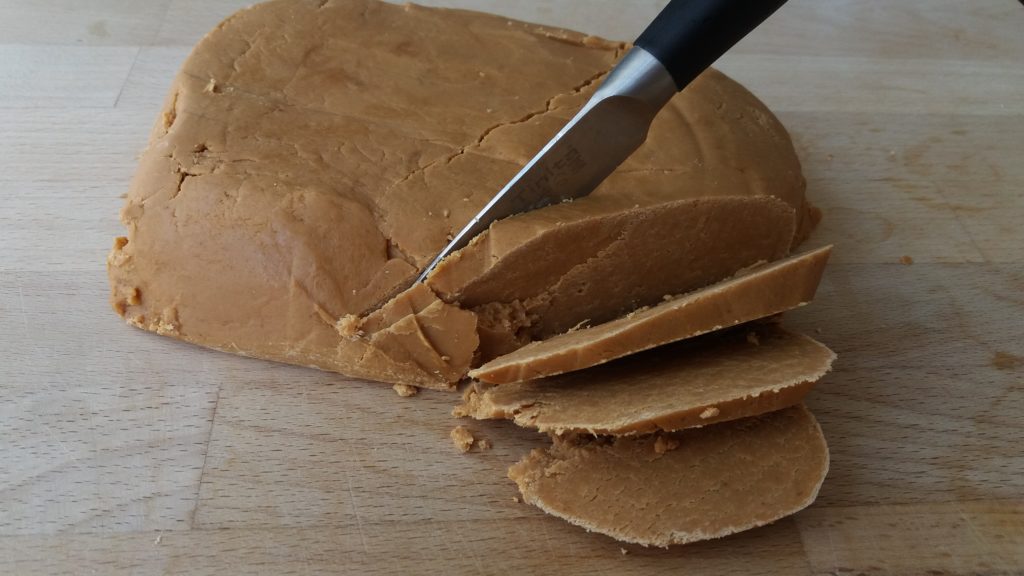
The color of the fudge also changes slightly, getting brighter due to all the crystals formed. After around 30 to 60 seconds of stirring the fudge should be ready. The important thing is that all the fudge is thoroughly mixed so all the sugar has crystallized. The only thing left now is to form the fudge in whatever shape you want and let it cool completely. Best thing is to leave it overnight. In the morning you can cut a fresh piece to go with your morning coffee – heavenly!
MAKING SIMPLE LACTOSE FREE FUDGE
Ingredients for simple lactose-free fudge:
- 420 g brown sugar
- 360 g of lactose-free milk (either whole or skimmed milk can be used)
- Large spoon of butter (can be skipped for low-fat fudge)
Take a lactose free milk (or regular, it does not matter, but the point is to have lactose free fudge), add sugar and some butter. Bring to slow boil and let it simmer. Stir occasionally. Since there is more water, the sugar will dissolve much faster compared to the fudge prepared with condensed milk.
Regular stirring is needed only in the beginning when undissolved sugar is still on the bottom and therefore tends to stick. After that, only occasional stirring is enough. The water will slowly evaporate, but it will take longer compared to condensed milk since there is more of water in the starting mixture.
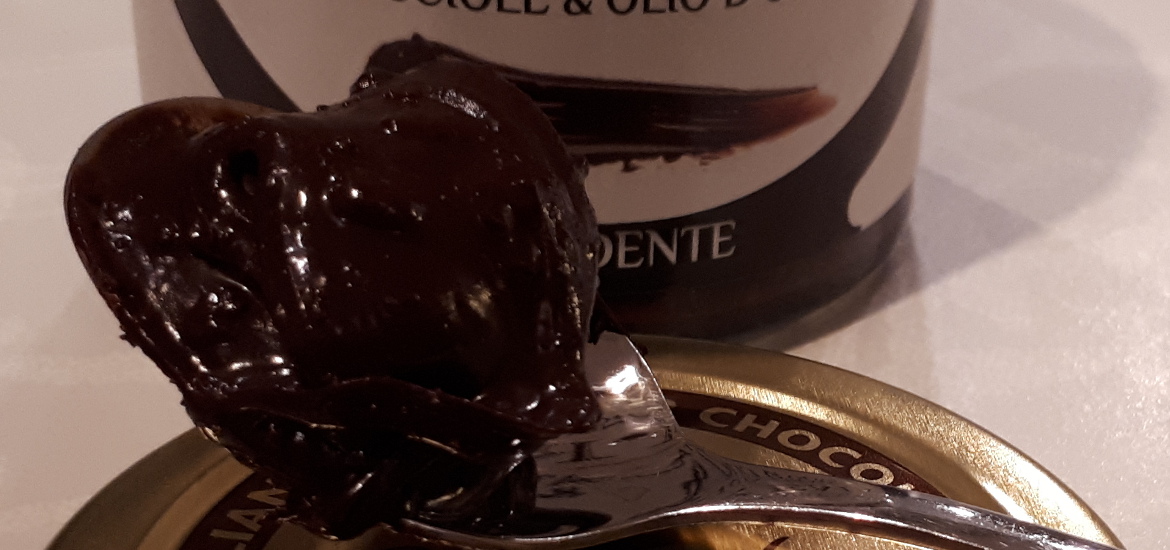
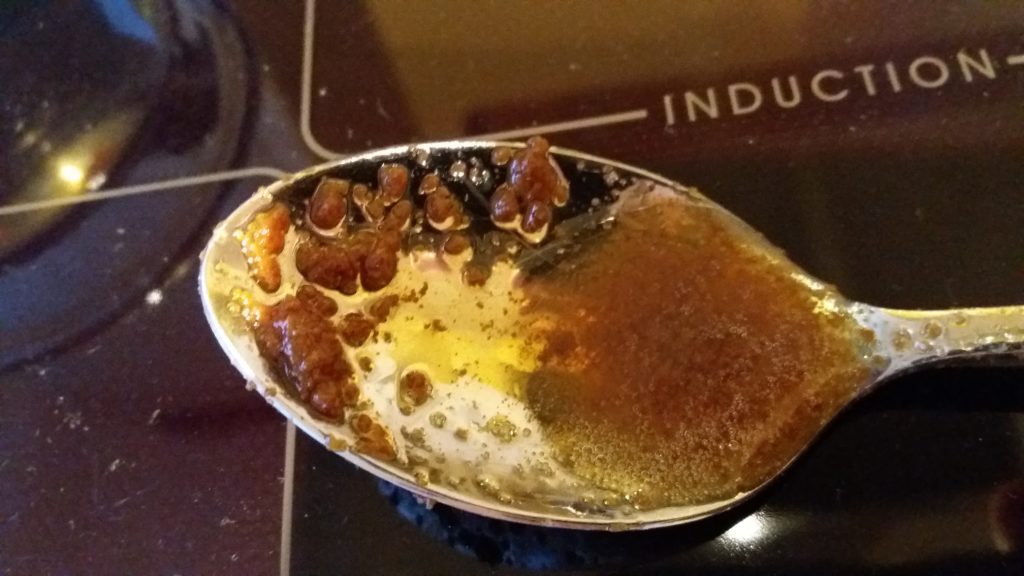
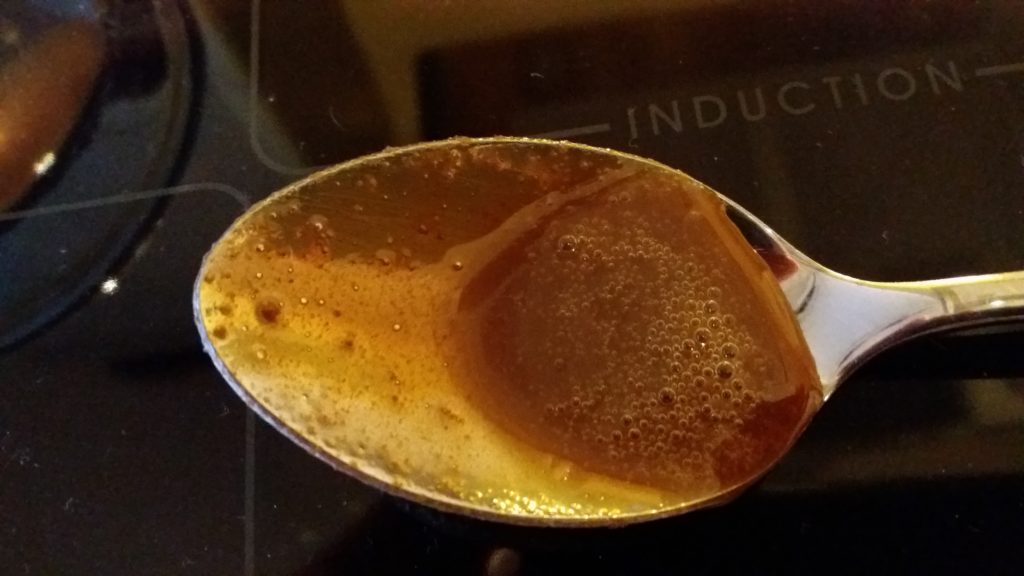
During the cooking, I noticed separation in the mixture – brown lumps formed while the remainder was clear brownish liquid. The situation did improve with mixing and further evaporation of water, but not completely. I effectively solved the problem with a hand blender. After 10 seconds of blending the mixture were again homogeneous (see the pictures).
Just be careful not to spray the mass around when blending – it is really hot! Cook until the mass reaches 113 C (soft ball temperature). For 780 g of the mixture, it took around 80 minutes to reach soft ball temperature (compared to 40 minutes for 1,5 kg mixture with condensed milk, this is really long). Leave the mass to cool to around 43 C, then stir really fast (by hand) for 30-60 seconds. The cooling rate is similar – logically – to fudge made from condensed milk – i.e. around 60 minutes for 780 g of starting mixture (it was 80 minutes for 1,6 kg mixture from condensed milk).
The fudge is now done – just shape it any way you like and let it cool down. As with the fudge from condensed milk described above, the process is the same. It just takes longer, since we have more water in the starting mass.The taste is comparable to fudge prepared with condensed milk – heavenly sweet caramel. For those of you avoiding fat – I tried skipping the butter and using skimmed lactose-free milk. It can be done but the fudge is much more brittle and cannot be cut in nice looking pieces.
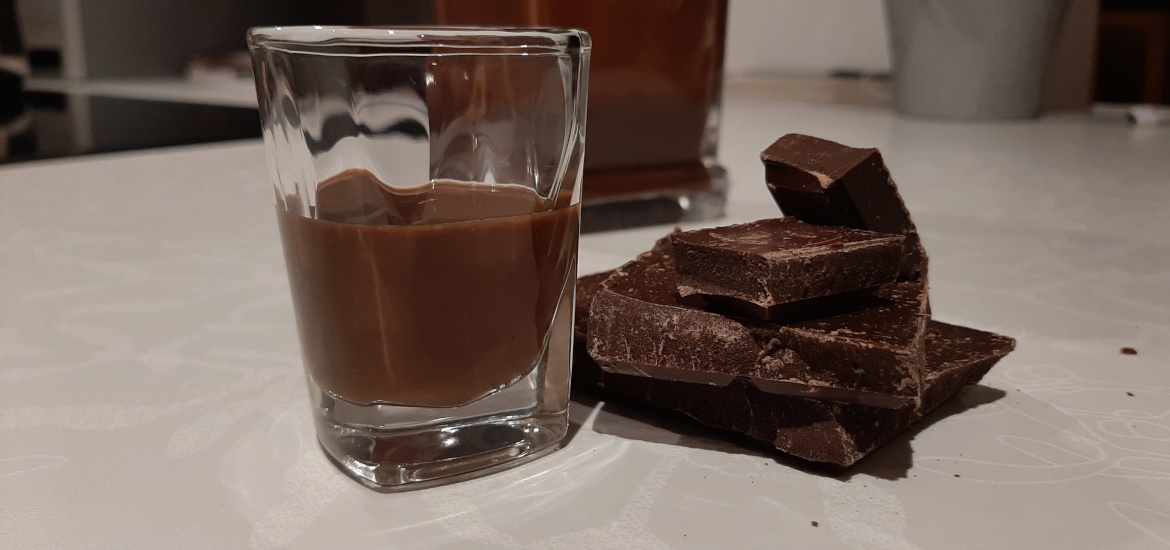
The texture in the mouth is also little “dry” compared to regular fudge, but the taste is the same. This shows that basically by using core ingredients and following the procedure you can never go wrong. The perfect sweet, velvety caramel taste is always there and can be even improved by adding chocolate, spices or whatever you fancy.
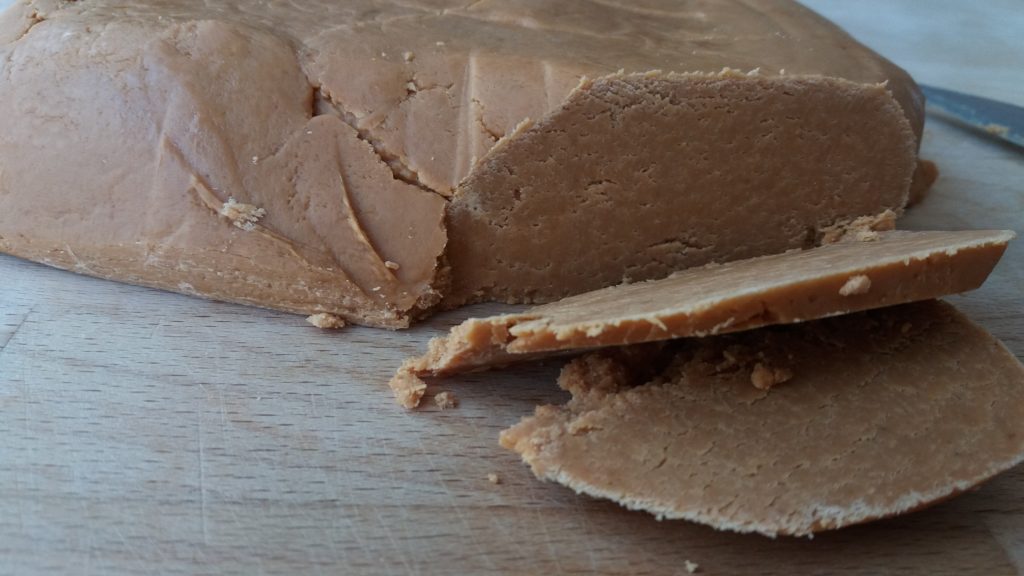
Image credit: Amazing Food