Foreword
I am always happy about new, fresh views. They help to expand knowledge, offer new solutions and are generally fun and engaging. So I was extremely pleased when one of my colleagues decided to take on a challenge and write a post for my blog. Hope you will enjoy it as much as I did!
The start
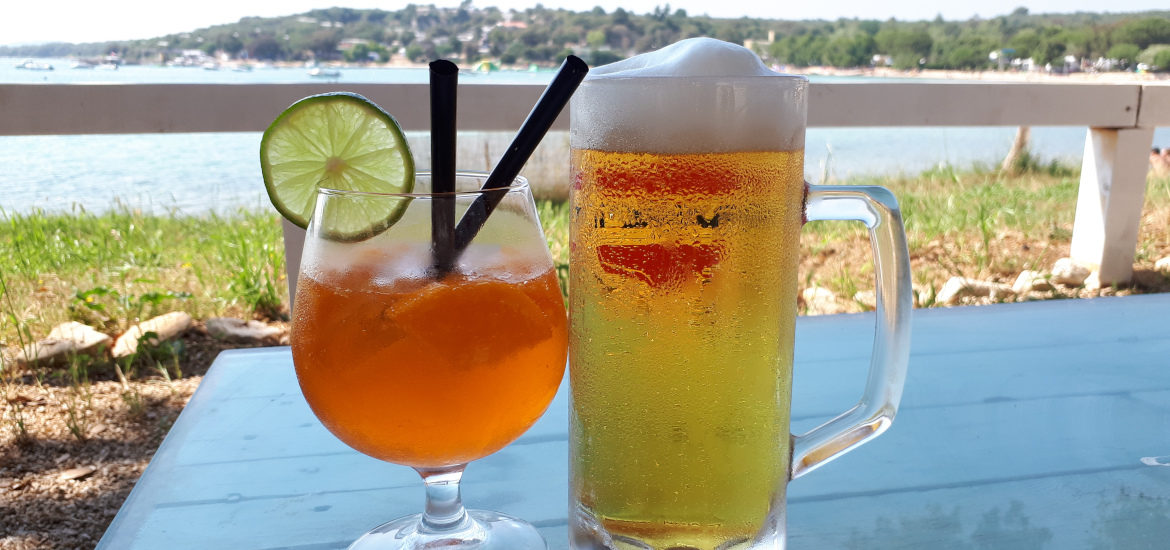
Beer is always a good solution to end a hot day, especially with friends or family or co-workers or all of them. But craft beer is even better. Making beer is a dream-come-true to a (wo)man with desire to create something new, something nobody has done before. The endless list of grains, malts, hops, other ingredients, different process techniques and parameters allow your creativity to go wild.

One year ago, I didn’t have a clue about beer, besides that it is good and makes you talk (some say it has female hormones inside). But after a few discussions with my colleague at morning work coffees, the explanations about his experimental work ignited the passion to make my first bubbly beverage. I bought a 12 L plastic fermenter, air-lock and pale ale kit which included crushed barley, dry hops pellets, a pack of yeasts and instructions. After following instructions to the point, the end result was surprisingly good. Even my mother-in-law said that it was better than the beer from the supermarket, which I still take as a huge compliment. But she didn’t see the kitchen. I have used the equipment I had at hand – some old pots and small strainer to separate barley from wort – so I really struggled to make my first batch, which could be noticed by the sticky floor I left behind. But hopes and dreams have at least nine lives, so I was planning to do some more batches. Brewing is fun. It takes you just few hours to brew a beer and put it into fermenter, then you just wait for 1 week, then transfer the wort to another carboy (at least I do, with the aim to separate the sediment), then wait another week, bottle with addition of sugar and wait again for 2 weeks. In a month you can taste it. So much different from making wine or brandy, where the process lasts a year or more.
Getting better and better
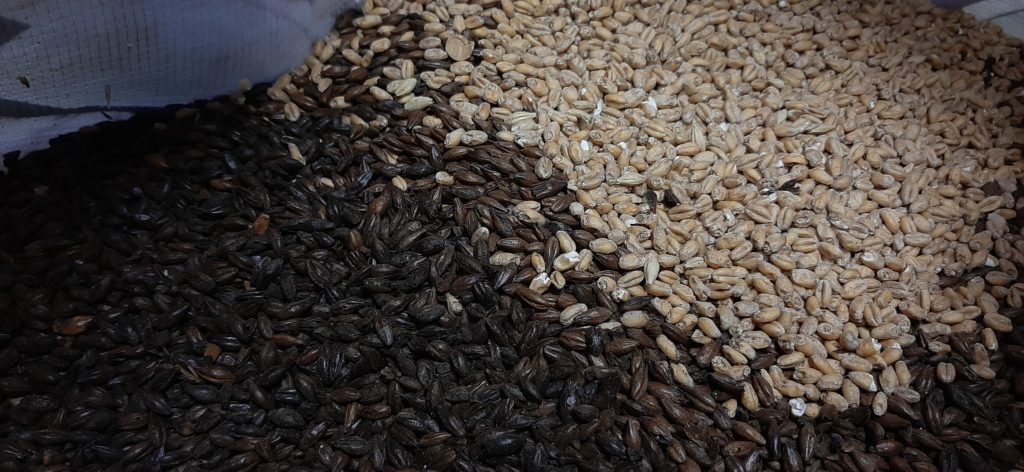
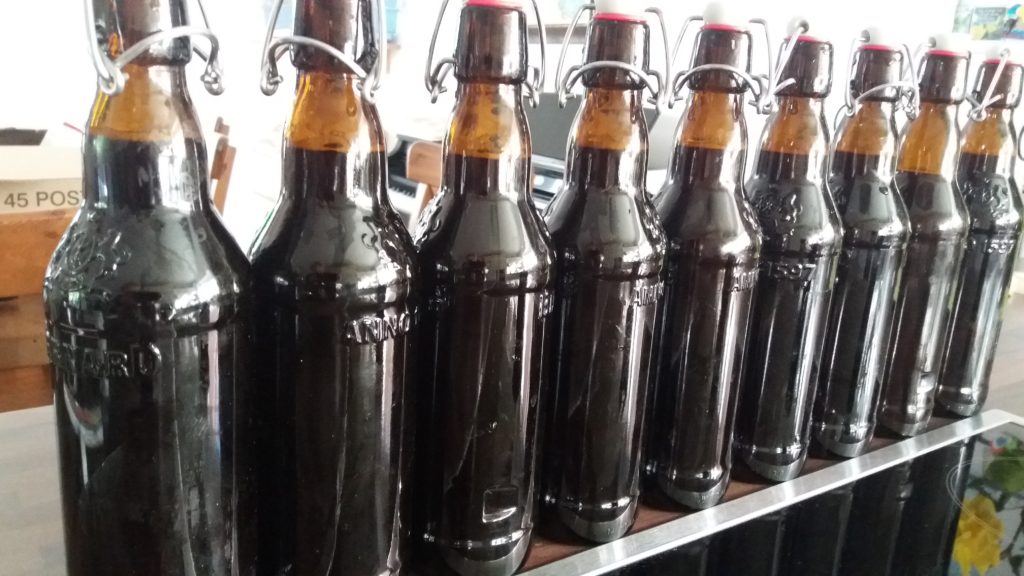
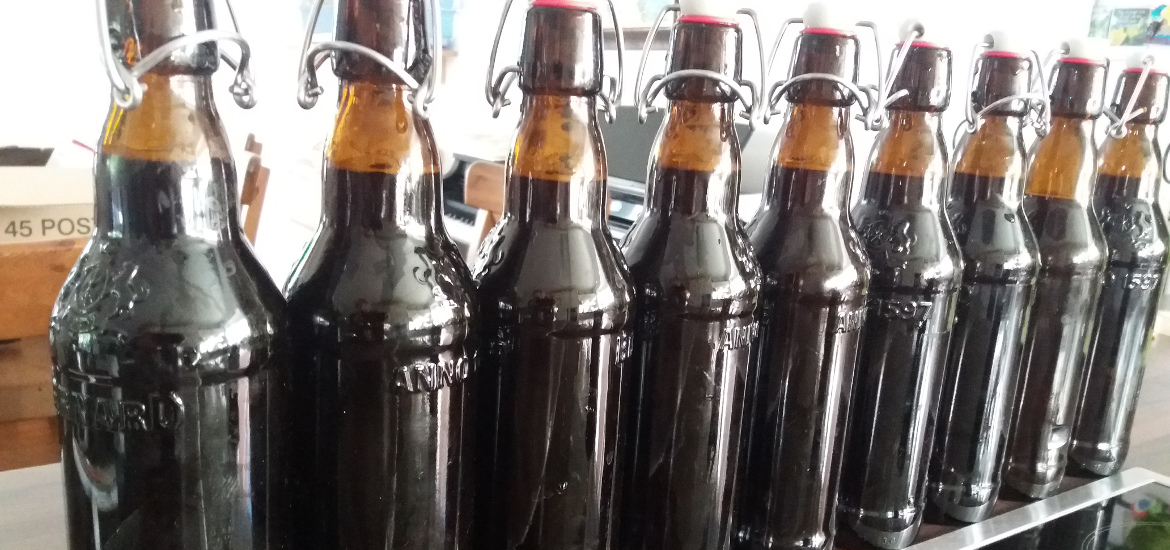
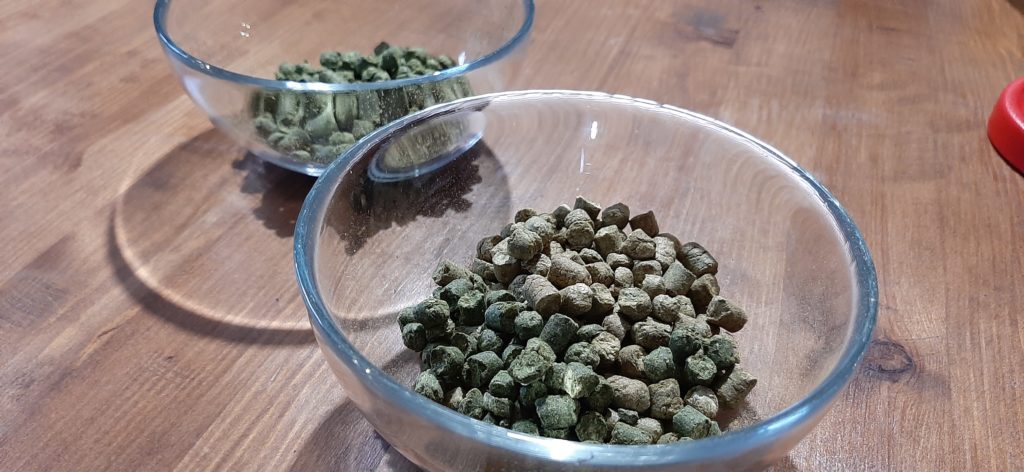
To continue, my next batches were better planned. I figured out how to use my equipment more wisely and the brewing time was shorter after every trial. My wish was always to create a pale ale or Indian pale ale (IPA) of different colours, so I experimented with barleys and especially hops a lot. The taste of every batch was good, but there was something missing, as there was not enough flavour. So I used more hops or combinations of hops in order to increase it. Of course, it helped but I assumed there was something I was doing wrong. I noticed that the lid of a cheap plastic fermenter doesn’t close tightly, so when beer is fermenting, the much-appreciated volatile aromas fly into the air through the tiny slit. Another thing, the 12 L fermentor has actually some more space than just those 12 liters. There should be some spare space in case fermentation is more vivid, not to blow the lid off the fermentor. My batches were always around 9 L, leaving quite some headspace, where the nicest aromas can “stretch their knees”. This actually is not so good, since once the lid is opened, they fly away and are not available to go in the bottle. The simplest solutions I found are to make batches around or even slightly above 12 L and to attach a (silver)tape on the outer side of the fermentor to close the slit between the lid and fermentor’s body. In that way the retention of much-wanted aromas is far greater.
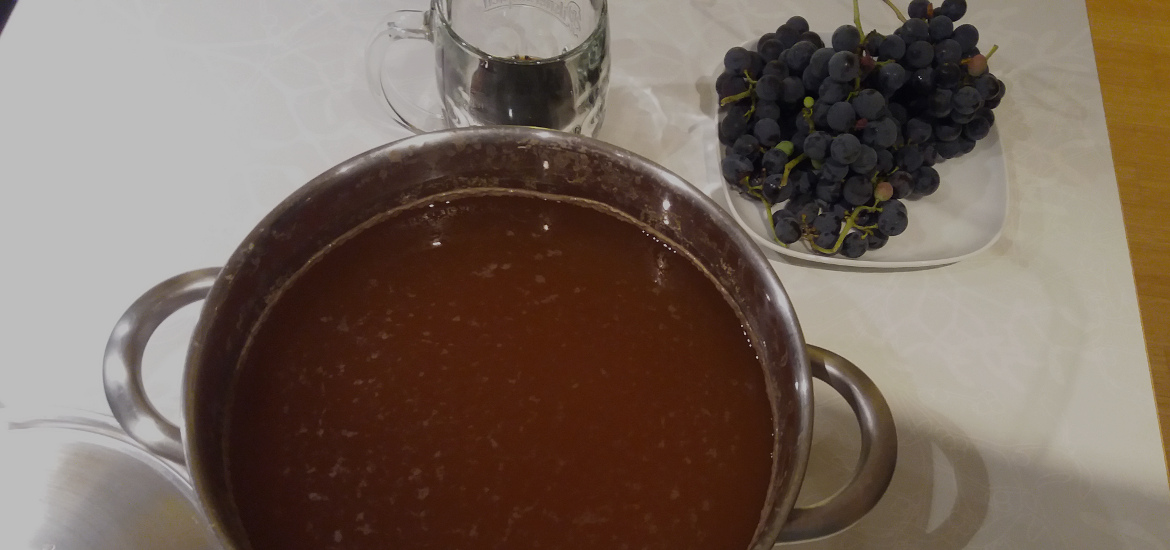
What about the process? There is also one process solution to tackle this issue. My usual practice at the hopping stage of the process was to boil the wort, add the hops for bitterness and cooking for 1 hour, then add flavouring hops and immediately start cooling the wort. Without professional cooling equipment and with just the help of ice cubes and manual mixing of water around the main pot, it takes approximately 20 minutes from 100 to 25 °C. A proper sealing of the lid during cooling helps to protect the evaporation of aromas. My lid was actually a layer of aluminium foil, so it is no wonder some aromas were lost there. There is still room for improvement, right?
And there is another way. Why add flavouring hops at 100 °C, if you can add them at a lower temperature. The lower the temperature, the lower the evaporation of aromas, right? Let’s look at the process more closely. When hops are added, they are wetted with water and the extraction of all sorts of compounds starts to take place. The higher the water temperature, the greater the extraction power. But if the temperature is high, the compounds with low boiling point will evaporate much easier. Some of them can also be quite sensitive to temperature and can also degrade. Usually, aromas have quite low boiling point and are easily lost during the process. That property is in nature’s nature and is not surprising at all. We (people) or animals can smell them only if their molecules are free in the air and can reach our smell receptors in the nose. That’s why hopping at too high a temperature is not so desired. On the other hand, too low temperature could extract too little aromatic compounds. They are left in the wort and do not boil-off, but their concentration is too low, so we experience the taste to be flat or unconvincing.
I tried adding hops at the end of cooling, at around 25-30 °C and left them in the wort for the whole time until bottling. I must admit, the result was rewarding. More flavour to the nose and to the mouth, as opposed to all other batches before.
Conclusion
Of course, there are plenty of other solutions. Playing with equipment, temperature, hops, quantities… you name it. Some hops have more aromatic compounds than others and some compounds are more volatile than others. All should be preserved to the greatest extent possible, so keep on exploring and tasting with happy people around you. Cheers!