Background
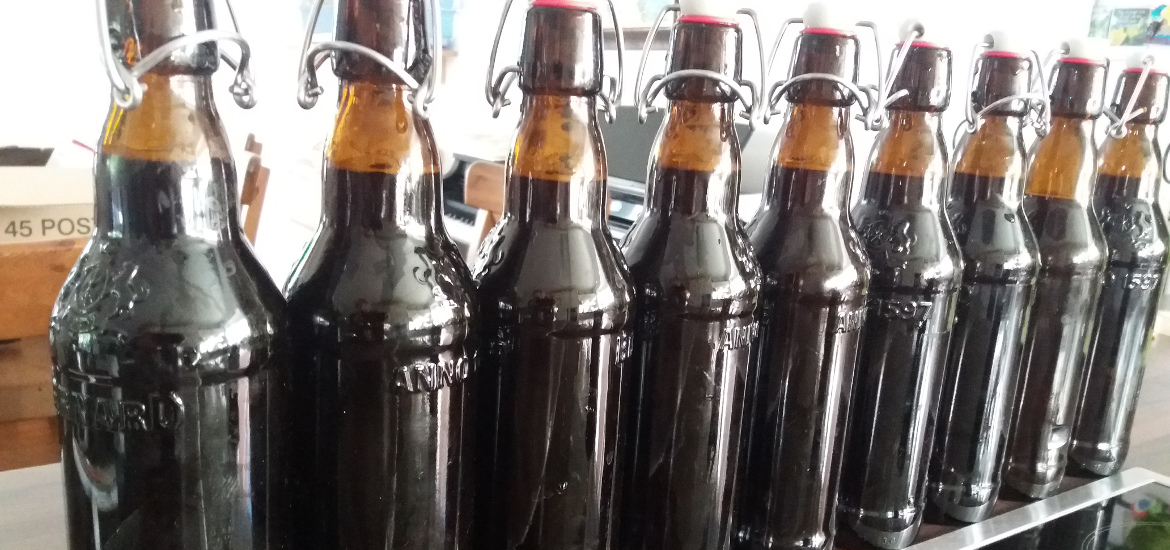
Yeast is one of the substances that are a cornerstone of our everyday life. Especially in our everyday food, where yeast is used in baking to fermentation of alcohol beverages. It is readily available in stores, either fresh or dehydrated. But if shortage occurs, where to get some to bake that delicious bread or brew a pint of beer? Luckily, yeast is present all around us. Even if you leave an open dish with sugar solution exposed to the air, some yeast might float in and start the fermentation. It is true that the results vary widely, but there are results nonetheless.
Considerations about making yeast at home
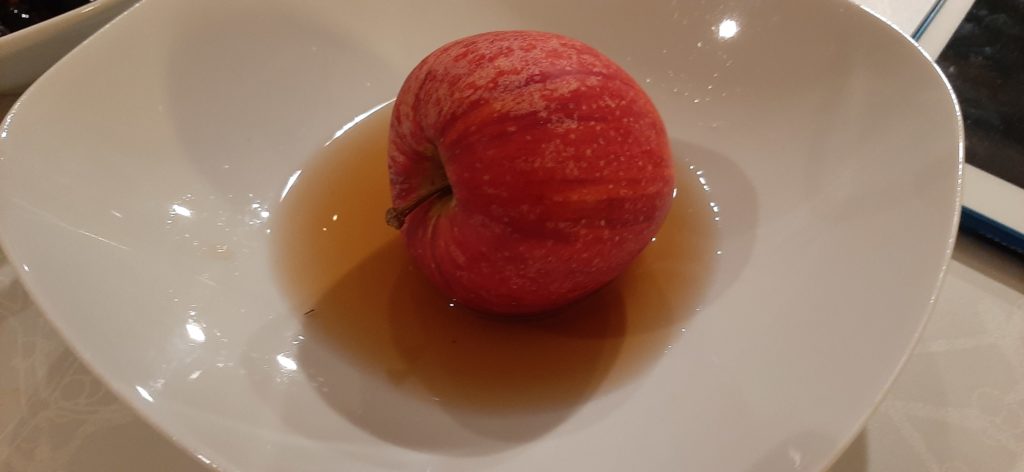
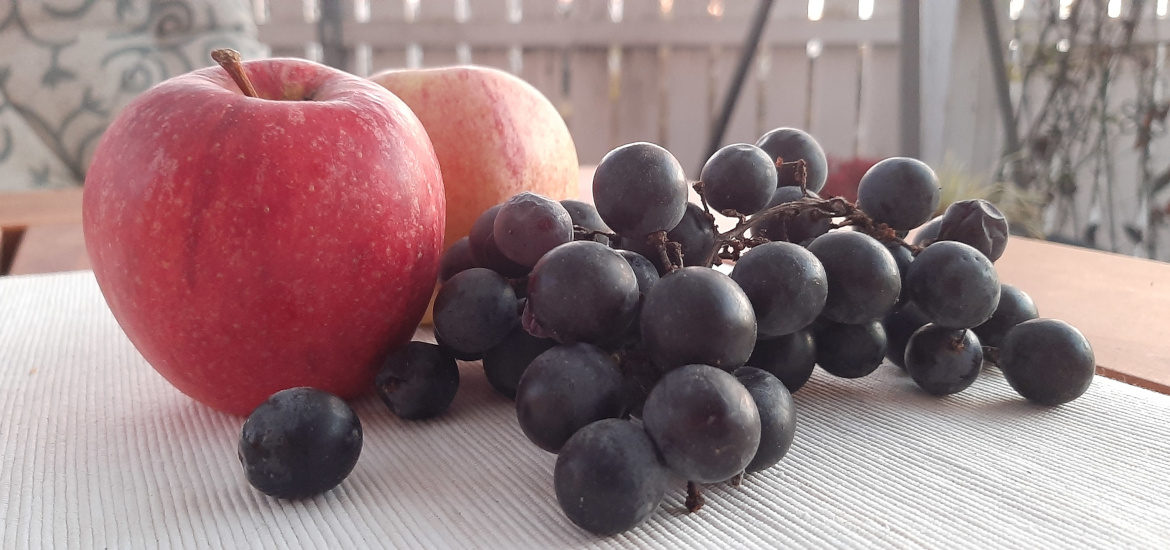
I certainly would not like to leave my bread and beer supply to chance. I would need a method to get a relatively good yeast quality that I can use if I am forced to make it myself. Luckily, there are several options. When wine or plums are fermented, a lot of yeast comes naturally from their skin. Apple skin is also a good source of yeast. So there is a logical solution: gather the yeast from these fruits and use it to ferment your favorite beer. Since fermenting beer takes time, I decided for a faster test: baking bread.
How to get the yeast from the fruit? Since I would need Saccharomyces cerevisiae, it would be reasonable to use a medium which supports their growth. Glucose would be nice, but saccharose should be also OK. In the end I decided on brown sugar, to add some micronutrients. This should be similar to the commercial process of yeast multiplication, where molasses is used.
Yeast growing experiments

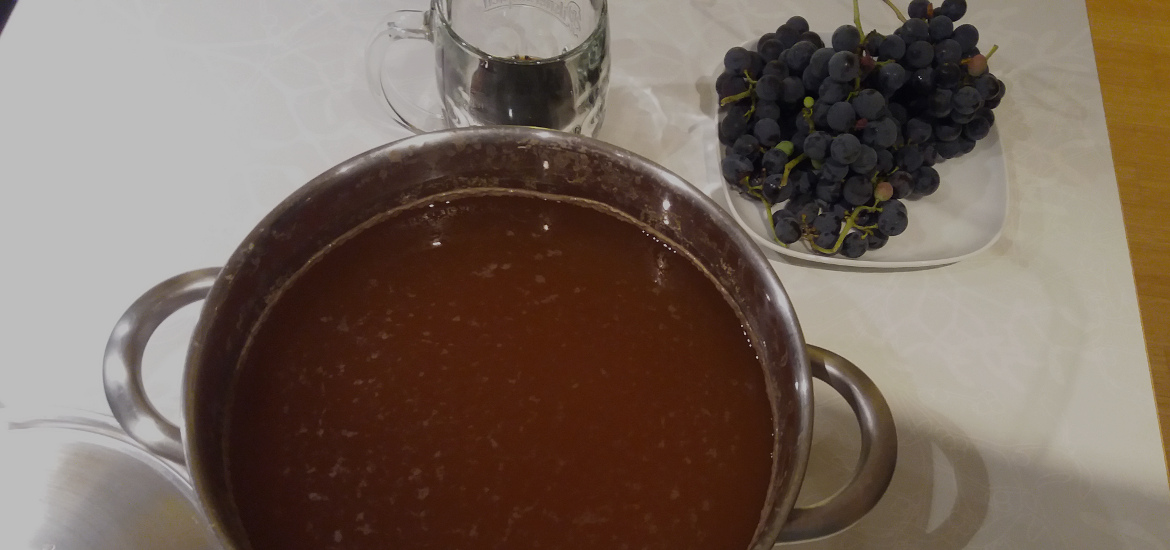
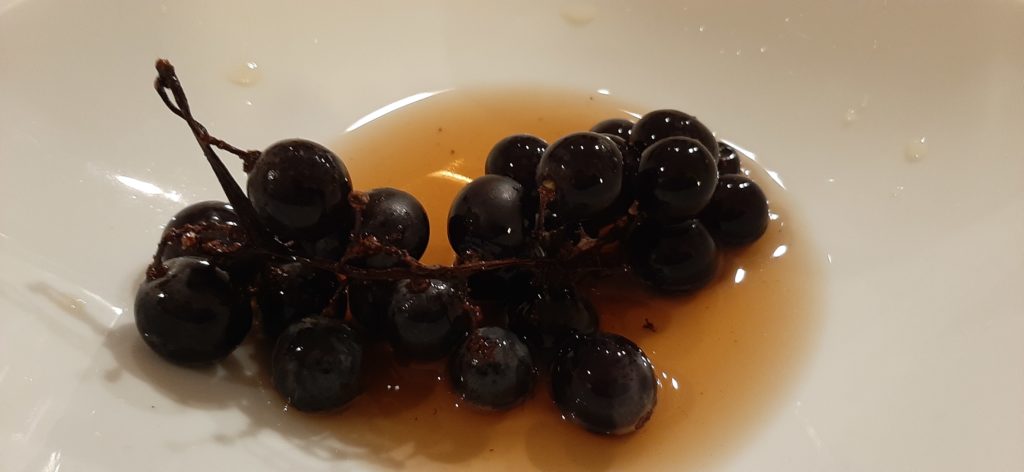
I prepared 10% (m/m) sugar solutions for the yeast using boiled water to remove any previous microorganisms. One solution was exposed to the air for one hour, in one solution I washed grapes and in the third one an apple. Naturally, one solution was left closed as a control. After treatment the solutions were left for 42 hours for the yeast to multiply. The solutions with apple and grape extract became cloudy and developed a musty smell (picture right). Luckily, the smell was no longer present in the next steps of baking bread. Something was definitely growing in these two solutions.
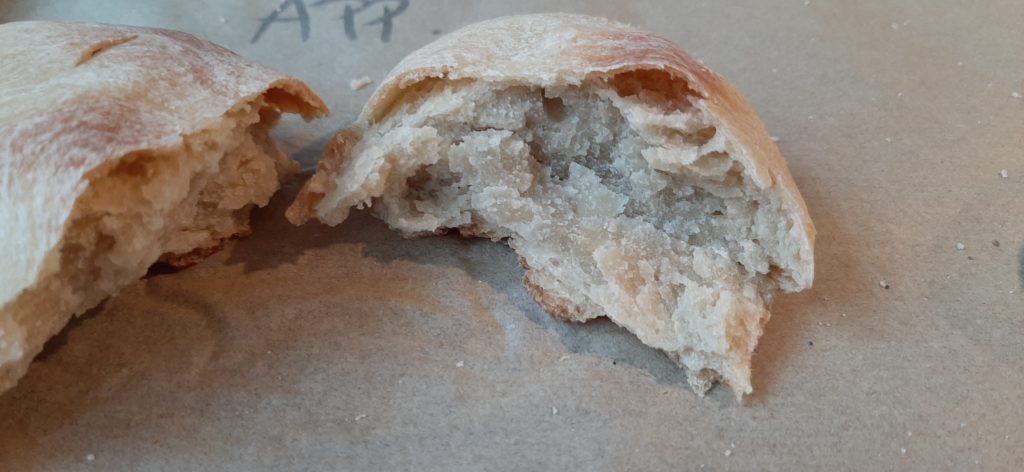
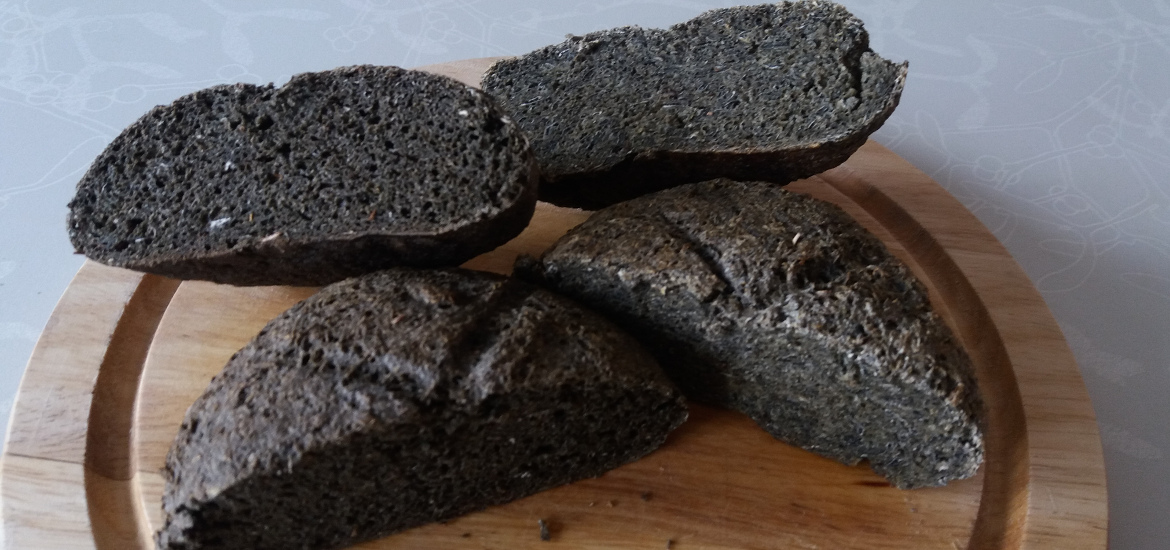
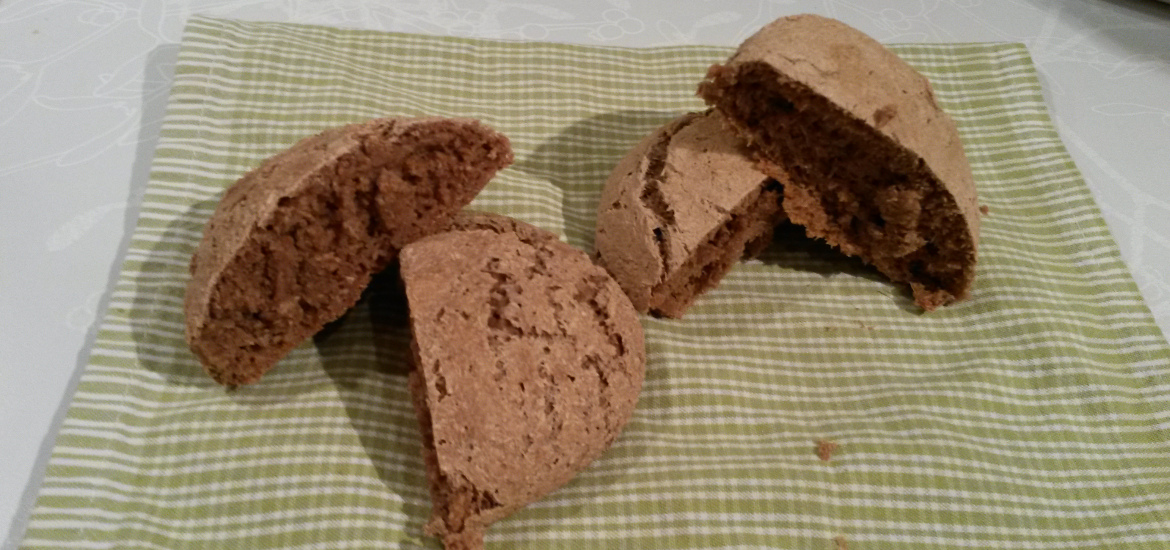
All four solutions were used to make a simple bread dough. Just flour, salt and the solutions – about 50 ml of solution, 75 g of flour and a pinch of salt. After kneading, the dough was allowed to rise for 4 hours and finally baked in an oven. Unfortunately the dough did not visually rise during the 4 hour resting period. And after baking the bread did not look promising either. When I tore the loaves apart, they revealed a squashed, hard interior. The bread was edible, with no residual odor for grapes or apples, but it was hard and unpleasant. There were practically no differences from one loaf to another. Despite the fact that something did start to grow in apple and grape sugar solutions, this was not it or it was not enough. Whatever it was, it did not help the bread to rise.
Conclusions
There are several ways, why the result was like this.
- First and most probable explanation is that there were simply not enough yeast cells in the first place. Unfortunately I didn’t use the grapes and the apple the minute I picked them, but they rested in a cold place for several weeks. The amount of yeast definitely decreased in that time.
- Further, I should have let the yeast grow for a longer time. Even if I would start with a fair amount of yeast cells, 48 hours of yeast cells multiplication is a bit quick. Just consider how long it takes for wine or cider to ferment. No wonder the bread did not rise.
- Finally, the medium for the growth was not optimal. Sucrose is not the optimal sugar and I did not control or add nitrogen compounds, which are also required for yeast growth.
With all that in mind, I will start a new set of experiments. But unfortunately I have to wait till next autumn to pick fresh grapes and apples. So more updates to follow!