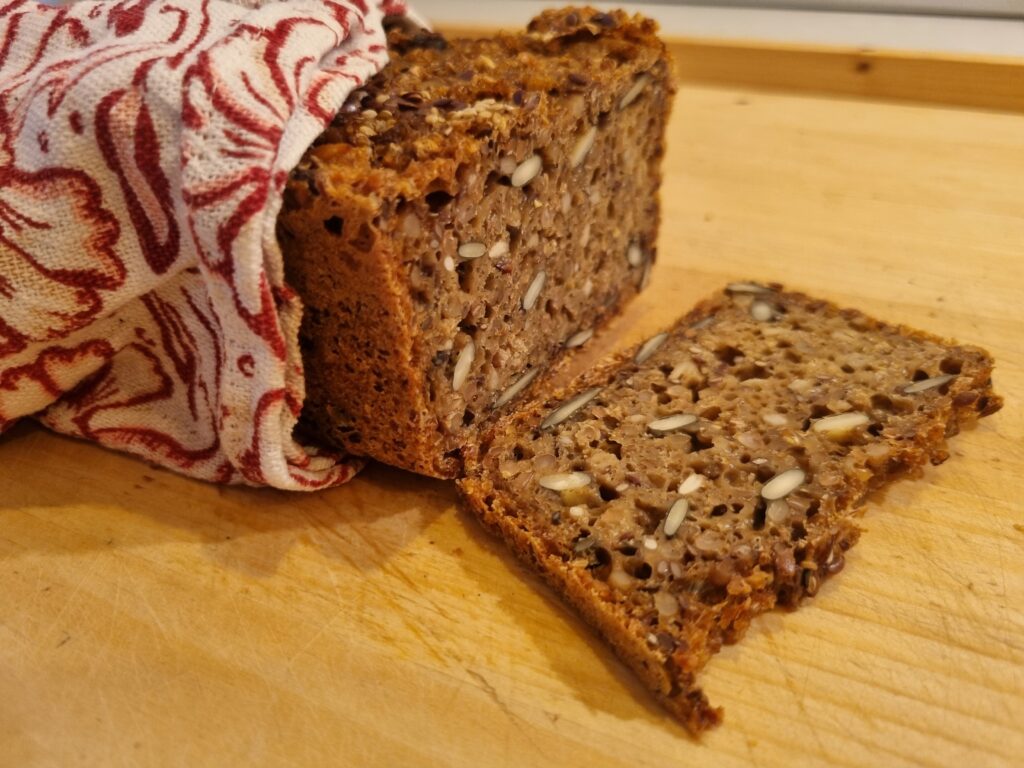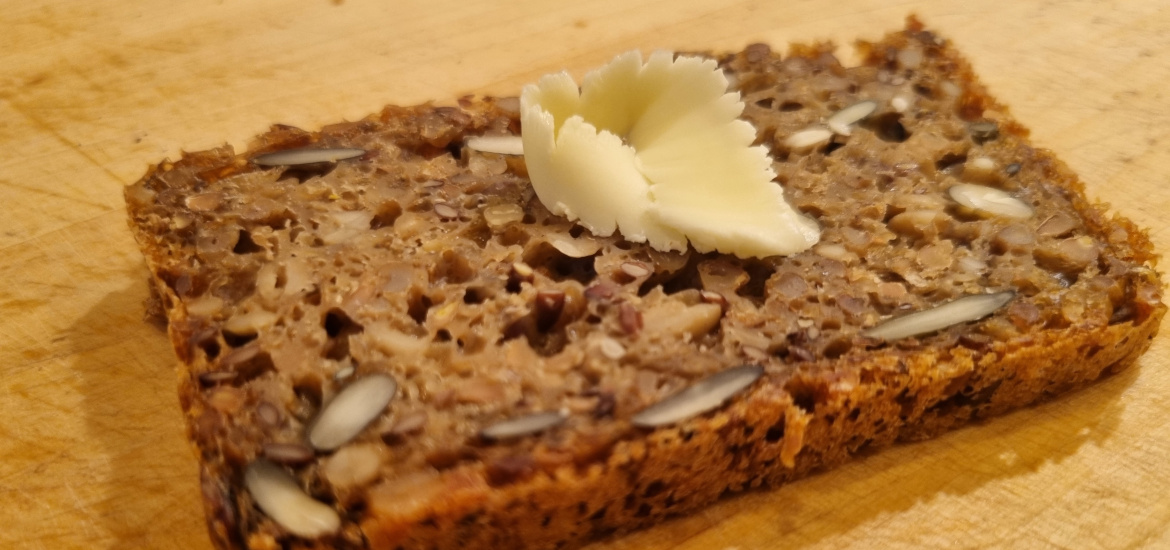
When I spent some time in Dannmark, I discovered rye bread. We do have it at home, but our version is much more acidic and sharp in taste. The Danish variant that I liked was much more mild, with different seeds contributing to a nice, soft, full flavor which I really liked. And the bread works like magic for your digestion. Naturally I tried to make it at home, but to my surprise this was not so straightforward. There are many, many recipes on the internet, but none resulted in the bread I wanted and ate in Denmark. You may notice that all recipes are fairly complicated – some use sourdough, most of them take two days to make, and use a lot of ingredients.
I tried many of them and finally came up with my own recipe. It is still fairly complicated and it takes two days to prepare. I do not use sourdough, since this makes it even more complicated. Maybe sometime in the future I will include the sourdough, but for now this recipe is perfect for me.
Day 1
First mixture
- 200 g rye seeds, lightly grinded
- 75 g sunflower seeds
- 75 g pumpkin seeds
- 40 g flax seeds
- 330 ml water
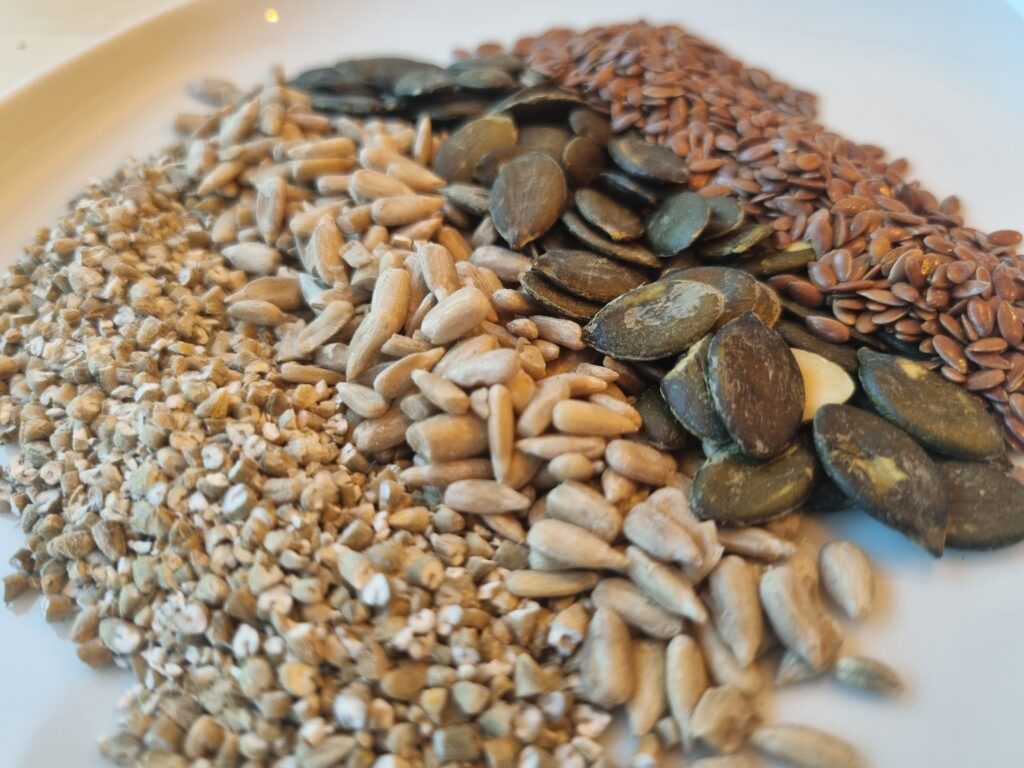
Rye seeds can be flaked using a mill, chopped or just lightly grinded in a common blender. The chopped rye seeds are visible on the picture to the right. Mix all the seeds, add water and leave to soak over the night.
Second mixture
- 150 g rye flour
- 150 g wheat flour
- ½ teaspoon dry yeast
- 200 ml water
Mix all ingredients in a bowl, cover and leave to rise over the night.
Day 2
- 1,5 teaspoon salt
- 40 ml molasses
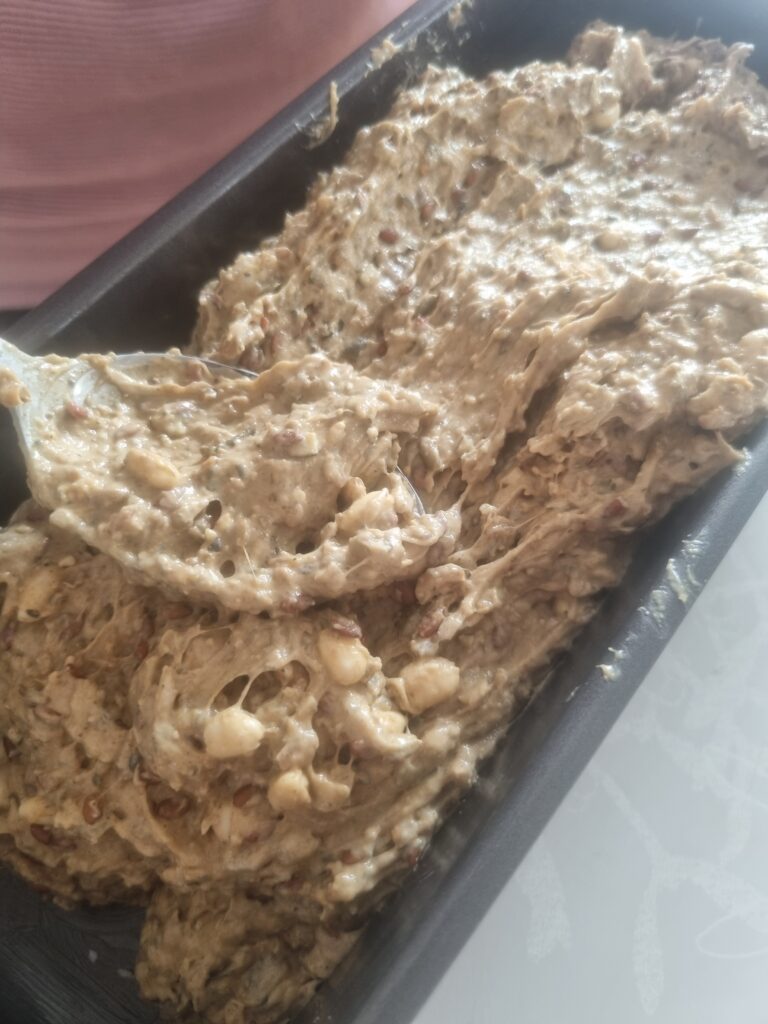
Combine both mixtures, add salt and molasses and mix well – I usually use a bread kneader for 10 minutes. Molasses is added for the color and the sweetness – so the amount can vary a bit, as per your taste. Transfer to suitable molds – usually rectangular ones, but it is really up to you. Leave the dough to rest for another 1-2 hours. Cover with aluminium foil or baking paper and bake at 230°C for 20 minutes. Reduce the temperature to 200 °C and bake for another 15 minutes. Now remove the aluminium foil, reduce the temperature to 160 °C and bake for an additional 45 minutes. When it is finished, allow it to cool down for a minute and then remove the bread from the mold. Cover the bread with a cotton towel and allow it to cool some more. When it is cool enough, transfer it to a plastic bag to preserve the moisture. When stored in the fridge, the bread can last for at least a week or two. If you do not eat it beforehand!